Learn How To Move A Text Box In PowerPoint
Quick Guide To Move A Text Box In PowerPoint
If you create a presentation and need to insert text into the presentation, you may wonder: What is a text box in PowerPoint? A text box is a basic object in PowerPoint that allows you to add text. It is a rectangular area in the slide where you can type your text. You can type any text you want into it, and you can place the textbox anywhere on a slide.
A text box is an essential element in a presentation, and our templates can make this task easier. SlideEgg offers you a grand collection of 380+ textbox PowerPoint templates with the highest quality, perfect alignment, easy-to-follow text format, etc. These Textbox templates will work well for presentations of all kinds.
When making a presentation with text boxes, you may sometimes need to move them from one place to another. When you are in trouble with moving the textboxes, you can just follow these simple steps to make the task simple.
How To Move A Text Box In PowerPoint?
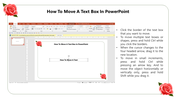
Step 1: First, you need to click on the border of the text box that you want to move.
Step 2: If you are trying to move multiple text boxes, press and hold the Ctrl key while clicking the borders.
Step 3: When the cursor changes to the four-headed arrow, drag the textbox to the new location.
Step 4: If you want to move in small increments, press and hold the Ctrl key while pressing an arrow key.
Step 5: To move the text box only horizontally or vertically, press and hold the Shift key while dragging it.
Are you now clear with moving a textbox or multiple textboxes from one place to another place in a slide? I hope your answer is yes. Stay connected with SlideEgg to know more PowerPoint tips and tricks.

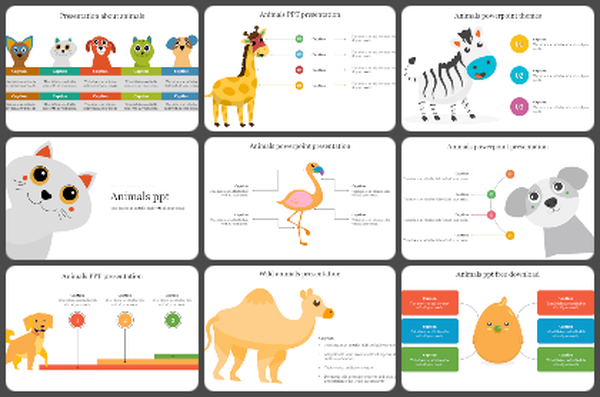
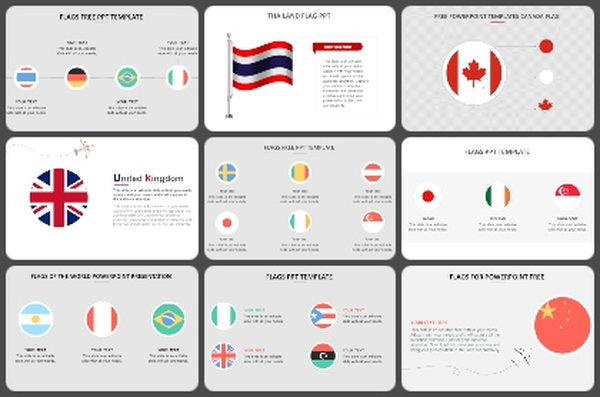
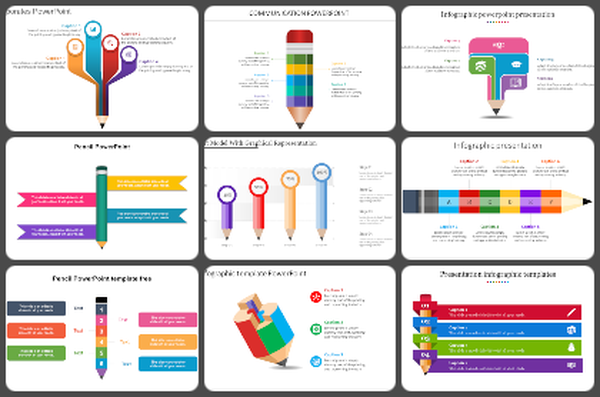
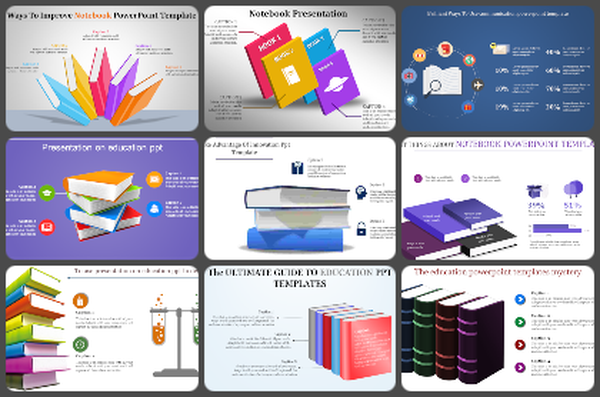
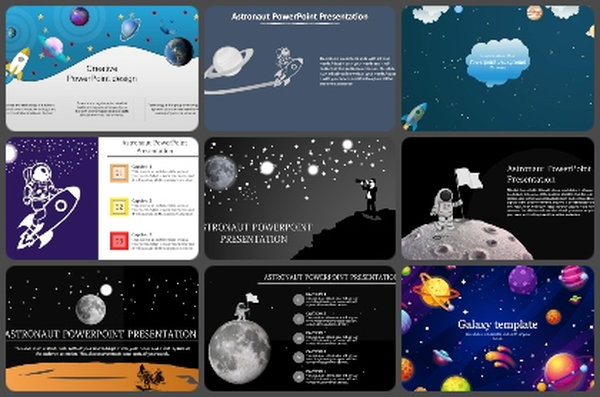
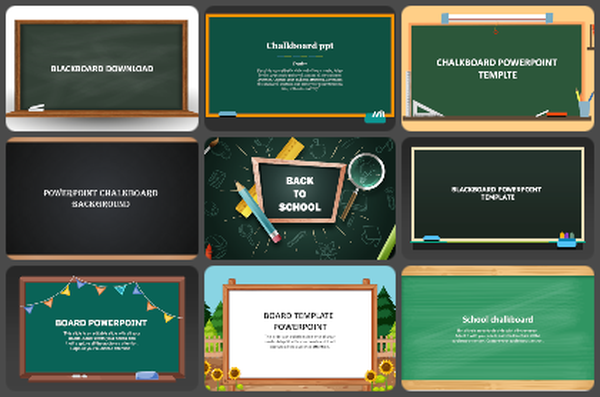
You May Also Like These PowerPoint Templates

Add to Wishlist
Download
Edit

Add to Wishlist
Download
Edit

Add to Wishlist
Download
Edit

Add to Wishlist
Download
Edit

Add to Wishlist
Download
Edit


Add to Wishlist
Download
Edit

Add to Wishlist
Download
Edit

Add to Wishlist
Download
Edit

Add to Wishlist
Download
Edit

Add to Wishlist
Download
Edit

Add to Wishlist
Download
Edit

Add to Wishlist
Download
Edit

Add to Wishlist
Download
Edit


Add to Wishlist
Download
Edit

Add to Wishlist
Download
Edit

Add to Wishlist
Download
Edit

Add to Wishlist
Download
Edit

Add to Wishlist
Download
Edit

Add to Wishlist
Download
Edit


Add to Wishlist
Download
Edit

Add to Wishlist
Download
Edit

Add to Wishlist
Download
Edit

Add to Wishlist
Download
Edit

Add to Wishlist
Download
Edit

Add to Wishlist
Download
Edit

Add to Wishlist
Download
Edit

Add to Wishlist
Download
Edit

Add to Wishlist
Download
Edit


Add to Wishlist
Download
Edit

Add to Wishlist
Download
Edit

