Free - Creating Timeline In Microsoft PowerPoint Presentation
Free

 Canva
Canva


Tips For Creating Timeline In Microsoft PowerPoint
Pre-designed timeline slides simplify our work in presenting the sequence of events horologically. And it's also simple to create a timeline in Microsoft PowerPoint from scratch. We can use SmartArt graphics to make a timeline to show target dates. The following steps will guide with enough steps to create a timeline:
Step 1: On the Insert tab, click Smart Art.
Step 2: Pick a timeline layout from the gallery that appears, like Basic Timeline in the List section.
Step 3: On the slide, a text editor will open next to the graphic to add words to the graphic easily.
Step 4: In the text editor, enter the required dates and descriptions and press Enter.
You may also visit our How-To tutorial page to learn more about creating and modifying timelines in Microsoft PowerPoint.
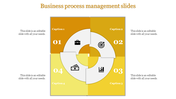
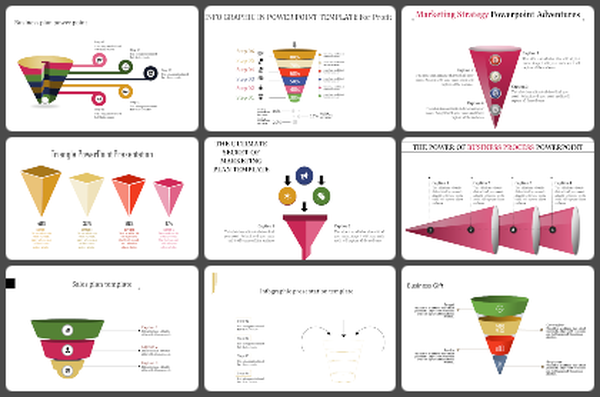
Slide Egg offers beautiful pre-designed timeline slides to help you make instant presentations. Give a look at this four-noded infographic slide in attractive yellow colors to present the timeline more beautifully. Using this template, you can present the timeline of four years. It also permits the user to modify the nodes, colors, and other elements to fit their taste. Try Now!
Features of the template
- 100% customizable slides and easy to download.
- Slides are available in different nodes & colors.
- The slide contains 16:9 and 4:3 formats.
- Easy to change the colors of the slide quickly.
- Well-crafted template with an instant download facility.
- Simple, creative, and attractive slide.
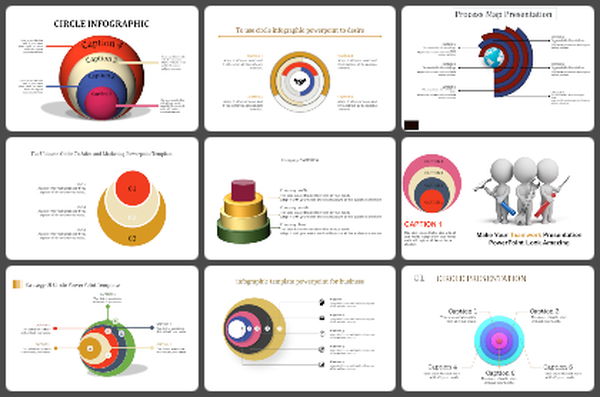
You May Also Like These PowerPoint Templates
Add to Wishlist
Download
Edit

Add to Wishlist
Download
Edit


Add to Wishlist
Download
Edit

Add to Wishlist
Download
Edit

Add to Wishlist
Download
Edit

Add to Wishlist
Download
Edit

Add to Wishlist
Download
Edit

Add to Wishlist
Download
Edit

Add to Wishlist
Download
Edit

Add to Wishlist
Download
Edit

Add to Wishlist
Download
Edit

Add to Wishlist
Download
Edit

Add to Wishlist
Download
Edit


Add to Wishlist
Download
Edit


Add to Wishlist
Download
Edit

Add to Wishlist
Download
Edit

Showing20 of69,218 templates