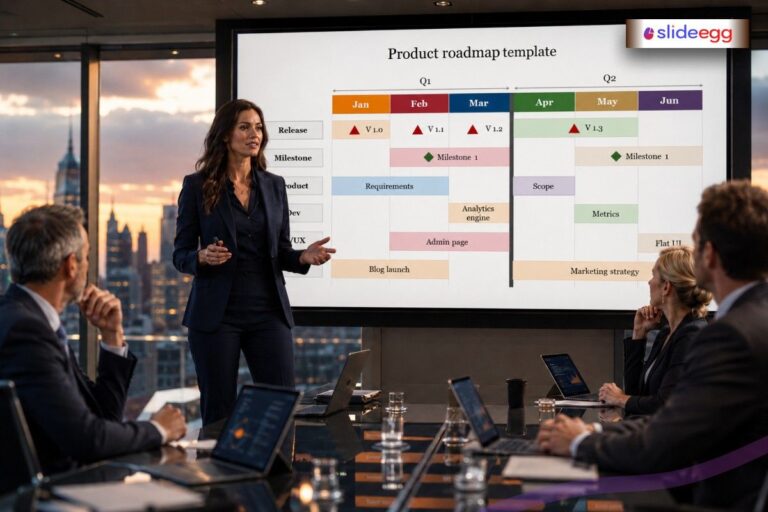
Creating an education presentation in 2026 is no longer just about putting slides together. It is about designing a learning experience. Whether you are teaching a classroom, presenting research, or conducting training, your slides should help people understand ideas quickly and remember them clearly.
The challenge is simple: audiences today are distracted, fast-moving, and expect clarity in seconds. So your presentation must be sharp, structured, and engaging from the first slide to the last.
Let’s go step by step through a practical way to design a winning education presentation.
Step 1: Start with a Clear Purpose
Before opening any design tool, ask yourself one question:
“What should my audience learn or do after this presentation?”
Many presentations fail because they try to cover too many ideas at once. A strong presentation has one clear direction.
For example:
- A teacher might want students to understand photosynthesis
- A student may want to explain a research topic
- A trainer may aim to improve workplace skills
Think of your presentation like a compass. Without direction, even good content gets lost.
Step 2: Know Your Audience Like a Classroom
A winning presentation always starts with understanding the audience.
You don’t teach a school student the same way you teach a college professor. Each group thinks differently, learns differently, and responds differently. To master this, see our guide on How to Choose Google Slides vs PowerPoint for Teachers in 2026 to see which platform fits your specific audience best.
Ask yourself:
- What do they already know?
- What will confuse them?
- What will interest them?
For example, younger students respond better to visuals and stories, while professionals prefer structured data and real-world examples.
When you understand your audience, your message becomes more natural—like speaking directly to them instead of at them.
Step 3: Build a Simple Story Structure
Every good presentation tells a story, even academic ones. Without structure, information feels scattered.
A simple flow works best:
- Beginning: Introduce the topic
- Middle: Explain key points step by step
- End: Summarize and reinforce learning
Think of it like building a bridge. If one part is missing, the audience cannot cross smoothly.
For example, if you are teaching climate change:
- Start with a real-world problem (like heatwaves)
- Explain causes
- End with solutions or impact
This makes your content easier to follow and remember.
Step 4: Keep Slides Clean and Focused
One of the biggest mistakes in education presentations is cluttered slides.
A slide should feel like a window, not a notebook page.
Keep it simple:
- One idea per slide
- Short phrases instead of long paragraphs
- Large, readable text
- Visuals that support meaning
Imagine your slide is a signboard on a road. It should guide attention, not overwhelm it.
For example, instead of writing a full explanation of a formula, show the formula and explain it verbally.
Step 5: Use Visuals That Teach, Not Decorate
In 2026, visuals are not decoration—they are learning tools.
A strong image can explain faster than a paragraph. But the key is relevance.
Use:
- Diagrams for processes
- Charts for comparisons
- Icons for key ideas
- Real images for context
Avoid random or decorative graphics that don’t add meaning.
For example, when explaining the water cycle, a simple diagram showing evaporation, condensation, and rain is far more powerful than text alone.
Think of visuals like illustrations in a storybook—they make ideas come alive.
Step 6: Add Interaction to Keep Attention Alive
A presentation should never feel like a one-way lecture. Even a small moment of interaction can reset attention.
You can:
- Ask short questions
- Invite quick opinions
- Use “think for a moment” pauses
- Include mini discussion points
For example, during a science presentation, you can ask:
“Why do you think plants grow faster in sunlight?”
This makes learners part of the process instead of silent listeners.
Interaction is like opening windows in a closed room—it keeps the air fresh and active.
Step 7: Rehearse Like You Are Teaching Real People
The final step is often ignored: practice.
Even well-designed presentations fail without smooth delivery. Practicing helps you:
- Speak clearly
- Manage time
- Build confidence
- Fix confusing parts
Try explaining your slides aloud, not just reading them. If something feels awkward, simplify it.
For example, a student presenting a seminar may know everything but still struggle if they haven’t practiced speaking it.
Think of practice like rehearsing before a stage performance—the more you rehearse, the more natural you appear.
Final Thoughts
A strong education presentation in 2026 is not about fancy slides or heavy content. It is about clarity, flow, and connection.
When you follow these seven steps:
- Define purpose
- Understand your audience
- Build a story
- Simplify slides
- Use meaningful visuals
- Add interaction
- Practice delivery
You create something that does more than inform—it teaches effectively.
At the end of the day, a great presentation is like a good teacher: it makes complex things feel simple and helps people learn without effort.
FAQs
1. What is the most important step in designing an educational presentation?
The most important step is defining a clear purpose. Without it, the presentation loses direction.
2. How many points should I include in one slide?
Ideally, one main idea per slide is best for clarity and better understanding.
3. Why are visuals important in education presentations?
Visuals help explain concepts faster and improve memory retention compared to text alone.
4. How can I make my presentation more engaging?
You can add questions, discussions, and simple interactions to keep the audience involved.
5. Is practice really necessary before presenting?
Yes. Practice improves confidence and clarity, and helps you deliver your message smoothly without confusion.