| Easy Steps To Make Your Digital Notebook ✅ Open Google Slides. ✅ Click Blank to start a new presentation. ✅ Change slide size to A4 or Letter (File > Page Setup). ✅ Design your cover page (add title, your name, etc.). ✅ Insert new slides for sections or chapters. ✅ Add text boxes for notes. ✅ Use hyperlinks to connect pages. ✅ Decorate with colors, images, and shapes. ✅ Download or share your notebook anytime! |
Introduction
A digital notebook is not just paper turned into a screen. It’s your own space to write, draw, plan, or organize — and Google Slides makes it super easy to build one from scratch. With just a few clicks, you can make your own personal notebook — right in Google Slides — that works on any device. Let’s walk through how to do it, in a simple and fun way.
Why Use Google Slides To Make A Digital Notebook?
- It’s free and cloud-based – No need to save files manually
- Works on any device – Laptop, tablet, even your phone
- Fully customizable – Colors, fonts, tabs, backgrounds
- Easily shareable – For group work or class assignments
- Interactive – Add links, buttons, videos, images
Step-by-Step Guide: Create Your Digital Notebook In Google Slides
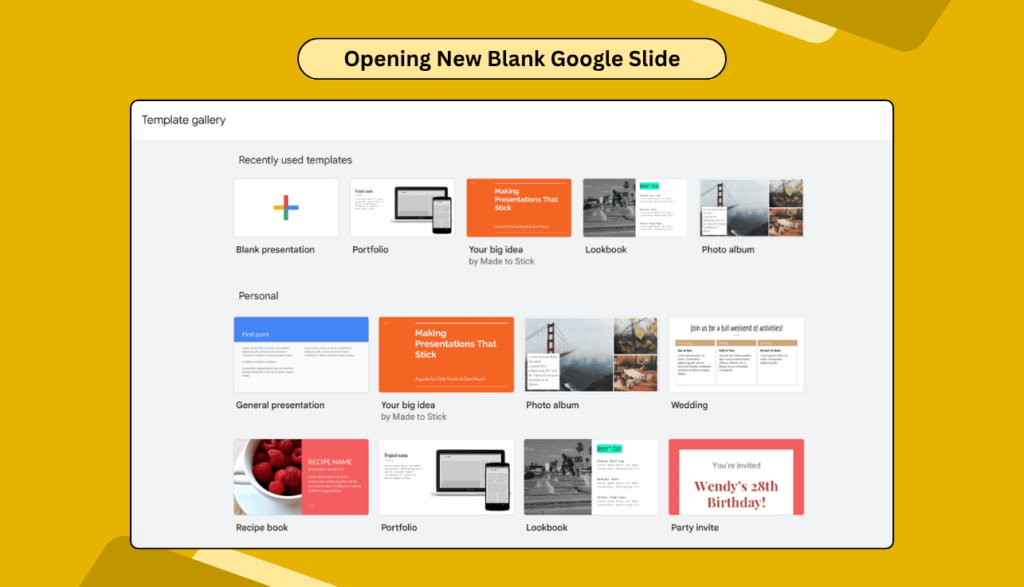
1. Open Google Slides
- Visit slides.google.com.
- Sign in with your Google account.
- Click on the + Blank slide to start fresh.
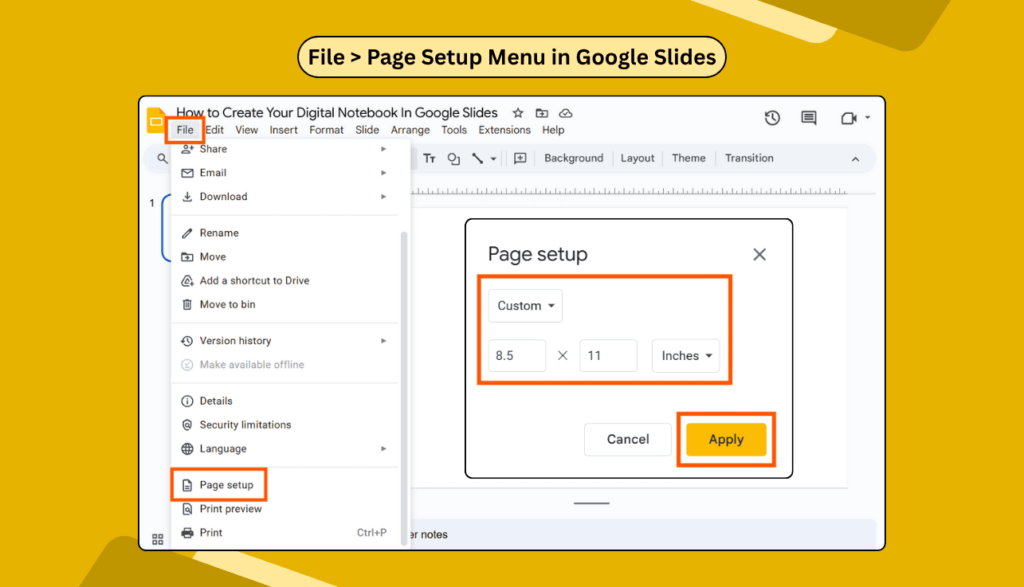
2. Set Up Your Notebook Size
Most notebooks use portrait layout, like A4 or Letter.
- Go to File > Page Setup.
- Choose Custom and set to 8.5 x 11 inches for a regular paper look.
- Now your slides look like real notebook pages.
Want to change slide sizes later? Learn how to change your Google Slides template size in minutes.
3. Create The Cover Page
Make it fun and personal:
- Add a title (e.g., “My Study Notes”).
- Insert your name, date, or subject.
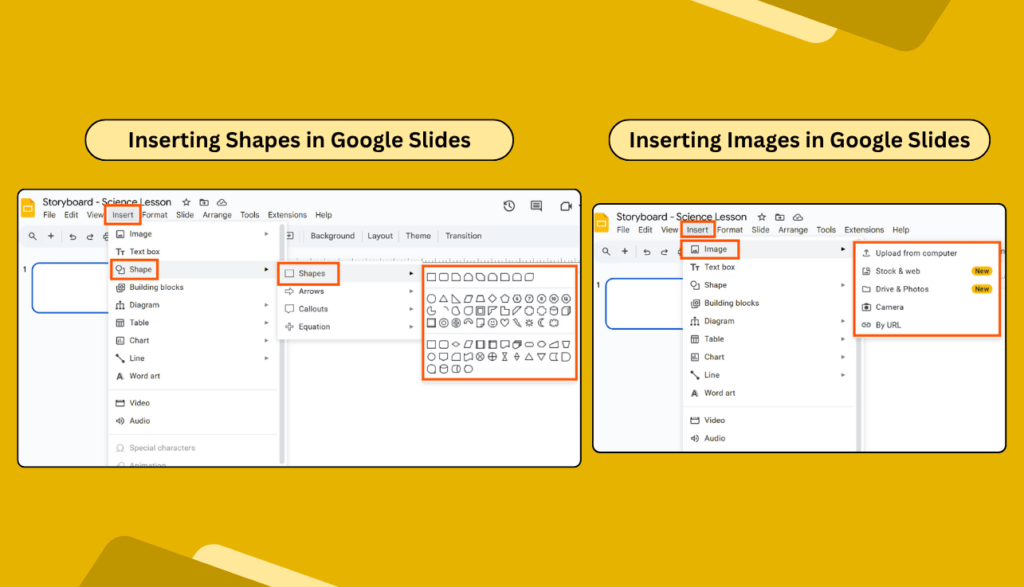
- Use Insert > Shape to make a label or banner.
- Decorate with colors or stickers (insert images or GIFs!).
4. Add Tabs Or Sections
To make it feel like a real notebook:
- Insert a new slide for each section
- Use Shapes to create side tabs (like dividers)
- Label them: “Math”, “Science”, “To-Do”, “Ideas”, etc.
- Use colors to make each tab stand out.
- You can even create clickable tabs to make it even more interactive.
5. Add Note Pages
Now it’s time to fill your notebook!
- Use Insert > Text box to add lines or sections.
- Add checkboxes for to-do lists.
- Include images, charts, or drawings.
- Want a dotted or lined background? Upload one and send it to back.
6. Make It Interactive
This is what makes digital notebooks fun:
- Add internal links to sections using buttons or shapes.
- Insert videos (like lesson clips or tutorials).
- Include GIFs or Bitmojis to make it lively.
7. Share Or Save
Done designing? Great!
- To share, click the Share button on the top right.
- Want to save it as a PDF? Go to File > Download > PDF.
- Or convert it to PowerPoint.
You can always go back and update your notes whenever needed.
FAQs About Creating a Digital Notebook in Google Slides
Q1. Can I use Google Slides as a journal or planner?
Yes! You can make daily pages, calendars, goals, and more. Just duplicate the slide layout and reuse it.
Q2. Can I use it offline?
Yes, if you enable offline mode in your Google Drive settings.
Q3. How do I link one slide to another?
Select a shape or text > Right-click > Link > Choose “Slides in this presentation.”
Q4. Can I use images from Google?
Yes. Use Insert > Image > Search the web for copyright-free visuals.
Q5. Is it possible to add audio?
Totally! You can add audio to Google Slides easily.
Final Thoughts
A digital notebook in Google Slides is more than a presentation. It’s a space you build your way. From simple class notes to full-blown planners, you can create anything that fits your daily needs. You can keep updating it forever, with just a few clicks.