In presentations, it’s not just about what you say, it’s also about how you show it. Imagine you’re drawing a picture. You want it to be just the right size so everyone can see it clearly, right? Well, in presentations, it’s the same! Making things bigger or smaller helps people understand your message better.
Changing the template size in Google Slides is not a daunting task. It’s a common struggle, but the fix is simple! This blog will walk you through changing slide dimensions in Google Slides, no pro experience is required.
Understanding Slide Size and Aspect Ratio
Before we dive into resizing elements, let’s talk about the overall canvas – your Google Slides itself. There are two main ways to adjust the size of your presentation “frame”:
Aspect Ratio: This refers to the width compared to the height of your slide. Common options include:
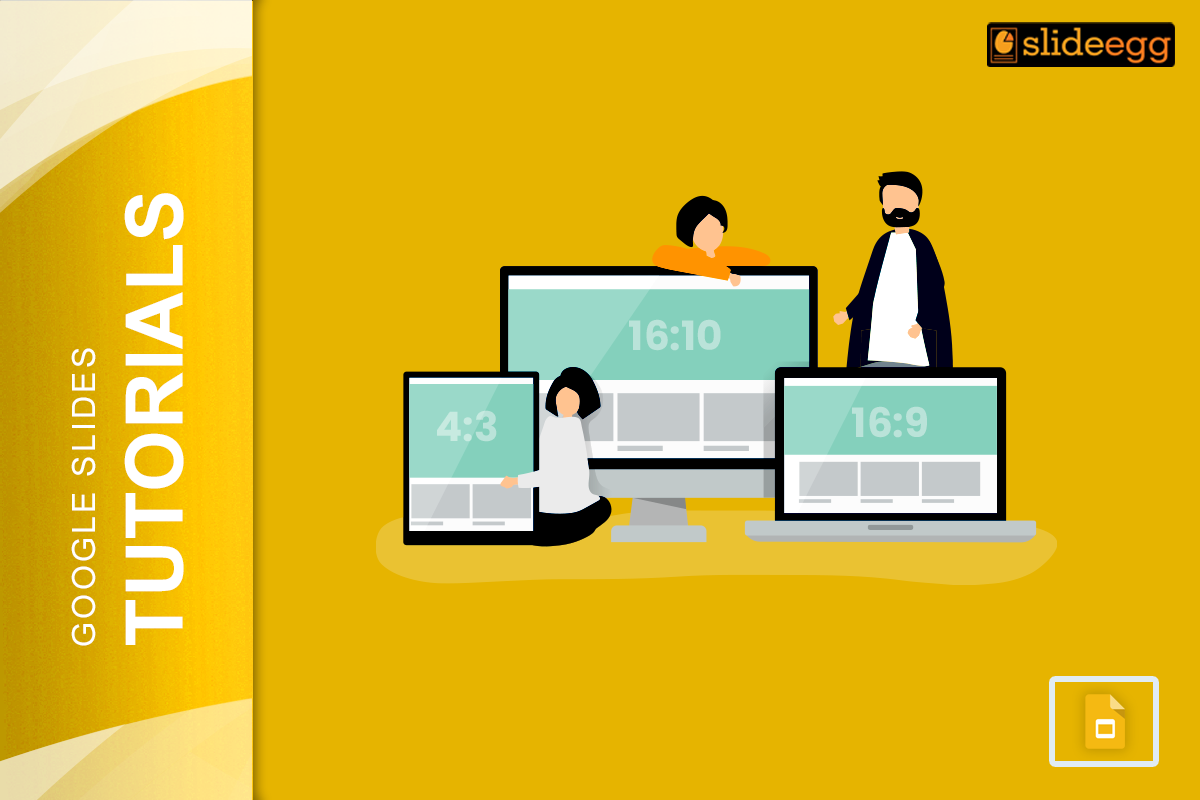
Standard (4:3): This is the traditional aspect ratio, ideal for presentations projected onto overhead screens.
Widescreen (16:9): The go-to choice for modern presentations displayed on widescreen monitors or televisions.
Widescreen (16:10): Similar to 16:9, but slightly taller, often used for high-definition presentations.
Custom: This allows you to define a specific size in inches, centimeters, pixels, or points.
Changing the Slide Size
To Adjust Your Slide Size, Follow These Simple Steps:
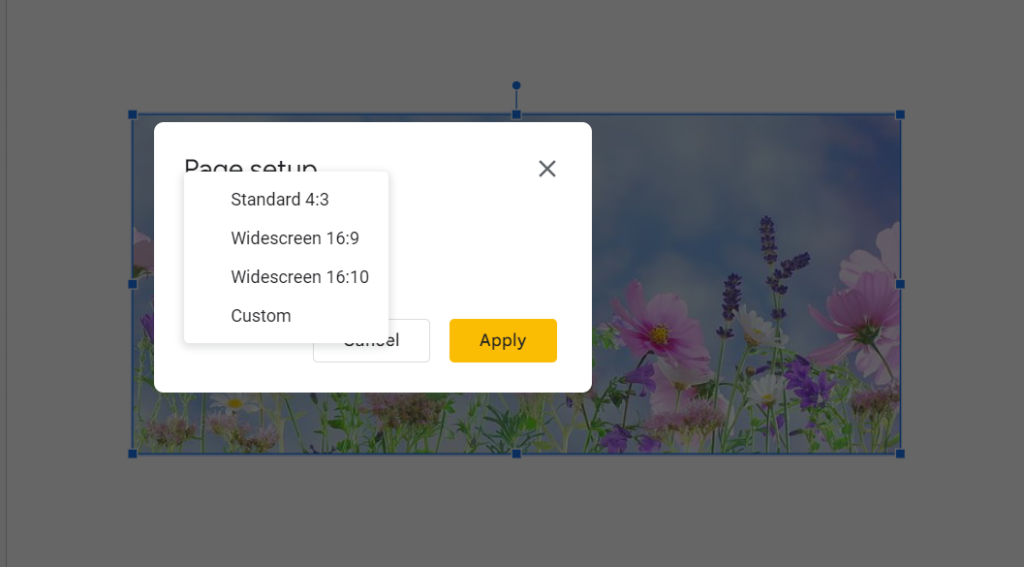
- Go to the File menu.
- Click on Page Setup.
- Choose your desired aspect ratio from the dropdown menu.
- If you need a specific size not listed, select Custom and enter the width and height values.
- Click Apply.
Resizing Images and Text Boxes
Now that you’ve got the canvas sized perfectly, let’s talk about resizing individual elements within your slides:
Images and Shapes: Click on the image or shape you want to resize. Drag the small squares at the corners to make it larger or smaller. Hold down the Shift key while dragging to maintain the aspect ratio.
Text Boxes: Similar to images, click and drag the corners of the text box to resize it. You can also adjust the font size within the text box to control how much text fits comfortably.
Remember: When resizing elements, pay attention to their placement and balance within the slide for a visually appealing presentation.
Nailed it! Mastering slide size in Google Slides templates ensures your message shines through. Now, go forth and use these tricks to craft presentations that truly stand out!