| Quick Tips for Adding Google Docs to Slides 🧩 Copy-Paste Method: Fastest way to move text from Doc to Slide. 🧩 Insert Link Method: Best for keeping content updated automatically. 🧩 Screenshot Method: Perfect for capturing exact formatting. |
Introduction
Google tools make work easier for students, teachers, and office workers. Sometimes you need to show information from your Google Doc in a presentation. Putting a Google Doc into a Google Slide helps you share important information without making people open another file. This makes your presentations better and saves everyone time.
Why Put Google Docs in Your Slides?
Adding Google Docs to your slides makes your presentations more useful. Here’s why it works so well:
- You only have to update information in one place.
- Your audience sees the most recent version of your work.
- You don’t need to copy and fix formatting mistakes.
- Your slides look clean and professional.
- People can click to see the full document if they want more details.
Method 1: Simple Copy and Paste
The easiest way to get your Google Doc content into a slide is by copying and pasting. This works best for small parts of text or simple layouts.
Steps:
- Open your Google Doc.
- Highlight the text you want to use.
- Press Ctrl+C (or Cmd+C on Mac) to copy.
- Open your Google Slide.
- Click where you want to add the text.
- Press Ctrl+V (or Cmd+V on Mac) to paste.
Tip: After pasting, you might need to fix some formatting. Use the format painter tool to make everything match your slide style.
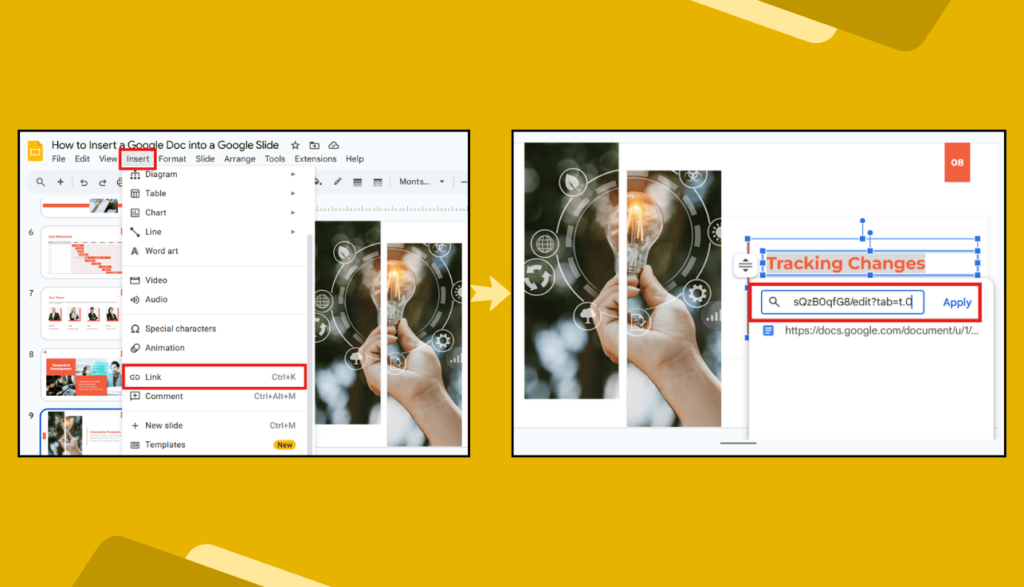
Method 2: Insert as a Link
This method lets you show a clickable link to your Google Doc. When someone clicks it during your presentation, the Doc opens in a new tab.
Steps:
- Open your Google Slide.
- Click “Insert” in the top menu.
- Select “Link”.
- Paste the URL of your Google Doc.
- Click “Apply”.
- Choose good text for the link, like “Open Full Report”.
Tip: Make sure your Google Doc sharing settings allow anyone with the link to view it. Otherwise, your audience might not be able to open it.
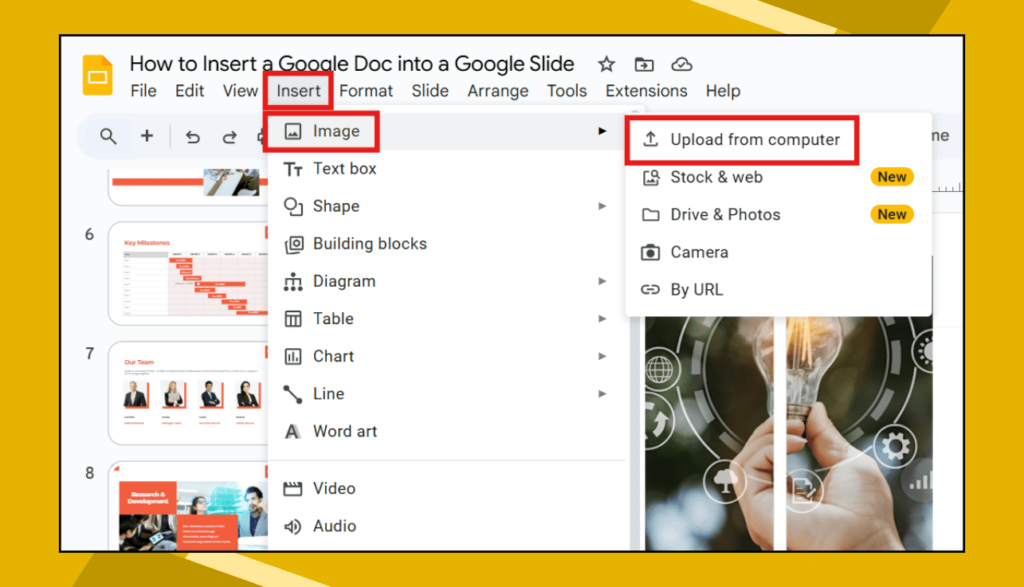
Method 3: Add an Image
Sometimes you want to show exactly how your Doc looks without letting people edit it. Taking a screenshot works great for this.
Steps:
- Open your Google Doc.
- Take a screenshot (on Windows: Windows+Shift+S, on Mac: Command+Shift+4).
- Open your Google Slide.
- Click “Insert” then “Image”.
- Choose “Upload from computer” or just paste directly with Ctrl+V.
- Resize the image to fit your slide.
Tip: If your Doc is long, take screenshots of just the most important parts to share.
Making Your Inserted Docs Look Good
After adding your Doc to a slide, try these tricks to make it look better:
- Resize it to fit nicely on the slide.
- Add a simple border or shadow.
- Use a zoom animation to focus on important parts.
- Change the background color to make the text stand out.
- Keep font sizes big enough to read easily.
Common Problems and Solutions
🔵 Problem: The formatting looks different on the slide.
Solution: Try using the “paste without formatting” option (Ctrl+Shift+V) and then reformat the slide.
🔵 Problem: The embedded Doc is too small to read.
Solution: Either choose the most important section to show or add a link to the full document.
🔵 Problem: Your audience can’t access the linked Doc.
Solution: Check sharing settings to make sure they have at least “View” access.
🔵 Problem: The slide looks too crowded with the Doc added.
Solution: Split content across multiple slides or only show the most important points.
Frequently Asked Questions
Can I edit the Google Doc directly from the slide?
No, you cannot edit the Google Doc from within the slide. You need to open the original Doc to make changes. However, if you use the link or embed methods, any updates you make to the original Doc will show up in your presentation.
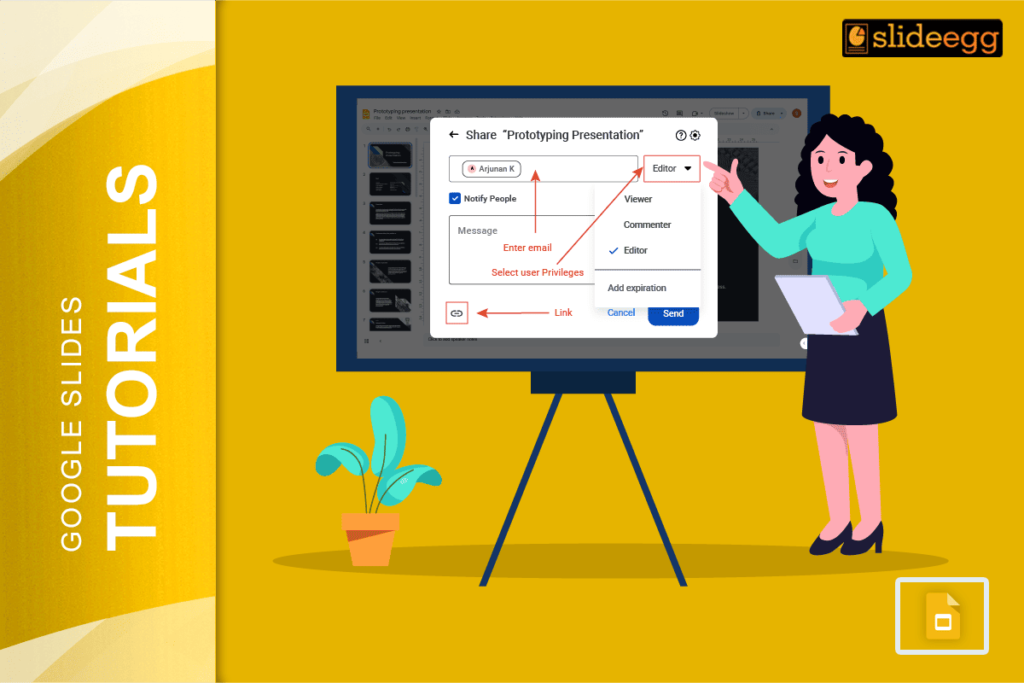
Will people seeing my presentation be able to change my Google Doc?
Only if you give them editing permission. If you share your Doc as “view only,” they can see it but cannot make changes.
What happens if I delete the original Google Doc?
If you delete the original Doc, any links to it in your slides will stop working. Embedded previews might still show cached versions for a while but will eventually show an error message.
Can I add Google Sheets or Forms to my slides too?
Yes! You can use the same methods to add Sheets, Forms, Drawings, and other Google files to your presentations.
Does this work in Microsoft PowerPoint?
These exact methods work only in Google Slides. PowerPoint has similar features but works differently. You can export your Google Docs as Word files first if you need to use them in PowerPoint.
Can I show only part of my Google Doc in the slide?
Yes! Either take a screenshot of just that section or copy only the text you want to include.
Final Thoughts
Adding Google Docs to your slides makes your presentations more useful and saves you time. You can choose the method that works best for what you need to show. Whether you want to display text, show a clickable link, or embed the whole document, Google makes it easy to combine these tools.
Remember that simpler is usually better when it comes to presentations. Only show the most important information from your Doc, and keep your slides clean and easy to read.
Try these methods in your next presentation to share information better and keep everything updated easily.