As a presenter, we all have the responsibility to keep our audiences on track from soup to nuts. Showing them complete images and long paragraphs will make them feel bored at one point in your show.
According to human psychology, we humans get attracted more towards visuals and motions as our eyes will have a smooth flow toward these attractive elements.
To justify this fact, PowerPoint also has these animations and transitions effects to make your presentation even more lively. Using these animations and transitions effects will be like bells and whistles for your slide presentations.
Okay. Now the question is “How can I add these animations and transitions to my PPT Presentation?”
Most of us would have explored this tool to a certain level for our old presentations. To be honest, clicking and having a preview of all those effects will be fun, though we will only use a few of them.
In this blog, Slide Egg will help you have the picture-perfect steps for adding animations and transitions to our PowerPoint presentation. So, without beating around the bushes, let’s move on to the heart of the matter.
Difference Between Animation and Transition
Does your slide need an animation effect or a transition effect? Let’s be clear with this by having a brief on the difference between an animation and a transition.
Animation refers to the movement or action of objects, images, or text on a slide. They can be used to draw attention to specific content, add visual interest, or highlight important points.
You can find some examples of animation effects in PowerPoint attached below.
- Fly-in
- Fade-out
- Bounce
Transitions, on the other hand, refer to how one slide moves to the next. The effect that occurs when moving from one slide to another. Transitions allow you to create a smooth flow between slides and grab your audience’s attention.
You can find some examples of PowerPoint transition effects here.
- Dissolves
- Fades
- Pushes
Now, shall we get into action?
Steps for Adding Animations to Your PPT
Follow these steps to add animation to your presentation.
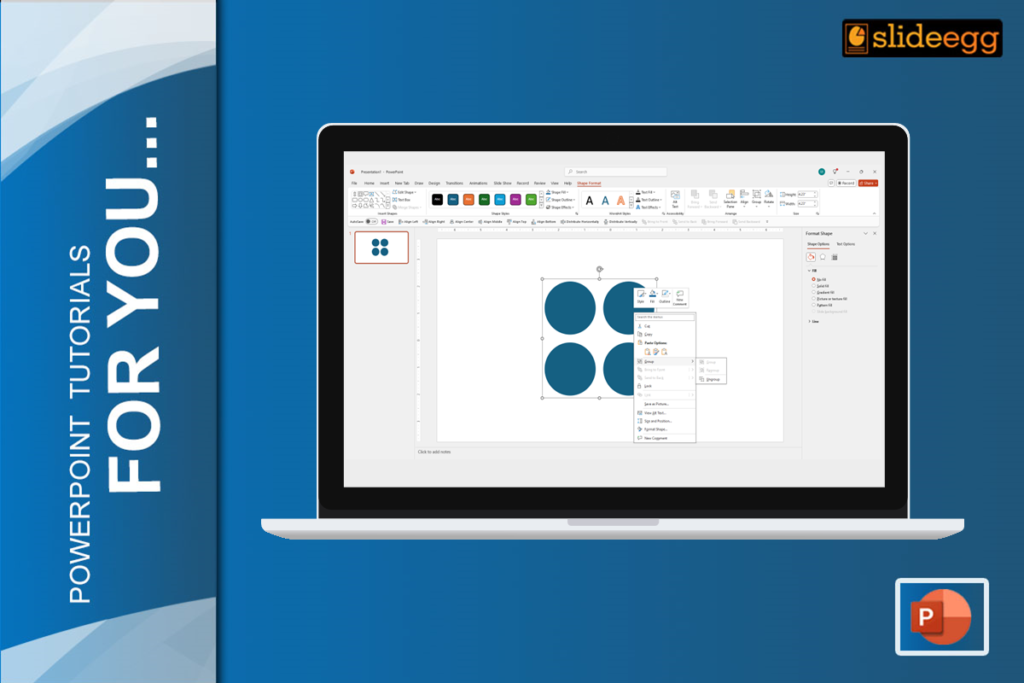
Step 1: Choose the object or text to animate.
Step 2: In the PowerPoint Ribbon, click the Animation tab.
Step 3: Select the type of animation you want to add from the animation gallery.
Step 4: Adjust animation settings. For example, use the animation range or Effect options dialog boxes to control the animation length and direction.
Step 5: Click the preview button to see your animation.
Step 6: Repeat steps 1-5 for each object or text you want to animate.

Steps for Adding Transition to Your PPT
Follow these steps to add transitions to your presentation.
Step 1: Click the slide where you want to add the transition.
Step 2: In the PowerPoint Ribbon, click the Transitions tab.
Step 3: Select the type of transition you want to add from the transition gallery.
Step 4: Adjust transition settings such as duration and sound effects in the Effects Options dialog.
Step 5: Click the preview button to have a look at your transition.
Step 6: Repeat steps 1-5 for each slide if you want to add transitions.

Effective Practices for Animations and Transitions
1. Keep animations and transitions conservative
Too many animations and transitions can distract and overwhelm your audience. Use them sparingly to highlight important information and keep your audience engaged.
2. Keep it simple
Stick to simple animations and transitions that are easy to understand and don’t get in the way of your message. Avoid overly complex animations and transitions that can confuse your audience.
3. Be consistent
Create a cohesive and professional look with consistent animation and transition styles throughout your presentation. This allows the audience to focus on the message rather than the visual effect.
4. Use your timing wisely
Adjust the length and timing of animations and transitions to match the pace of your presentation. Use shorter durations for faster presentations and longer durations for slower presentations.
5. Preview and practice
Preview your animations and transitions before your presentation to make sure they work well and don’t get in the way of your message. Practice your presentation with animations and transitions to get comfortable with them and use them effectively.
So, whether you are a newbie or an aspiring pro, this tutorial will be a plus one. We also encourage you to try it out before making your final presentation.
Ask your colleagues and friends which effects are striking and attention-grabbing. Experiment with different animations and transition effects and try some additional effects.
Final Touch
Regardless of your presentation topic, scenario, or explanation, keeping these tips in mind will help you create an engaging and memorable presentation with attractive animations and transitions effects.
If you’re at the eleventh hour, you can check Slide Egg’s PPT Design Service who will assist you in your PPT creation.
Still, want more tutorials for PowerPoint creation?
Slide Egg helps you explore essential tips and tricks for PPT creation. In addition to tutorials, you can also find millions of slides with different colors, designs, backgrounds, nodes, and patterns in both premium and free plans.
Select, download, add animations and transitions, and finally, you get to go!