| Want to align your content better? Here’s how to turn on the ruler in Google Slides in simple steps: 💠Open your Google Slides file. 💠Go to the View menu in the top toolbar. 💠Click Show Ruler from the dropdown. 💠That’s it! The ruler appears at the top and left of your slide. You can now drag and position text boxes, images, and shapes with better accuracy. |
Introduction
Good design always starts with good alignment. When you’re working on a Google Slides presentation, placing text or images without clear spacing can make your slides look messy.
That’s where the ruler tool in Google Slides comes in handy.
Even though it’s a small feature, turning on the ruler can help you space out and align your content perfectly. It gives you full control over how things are placed on the slide. Let’s explore how to show the ruler and use it in the best way possible.
What Is the Ruler in Google Slides?
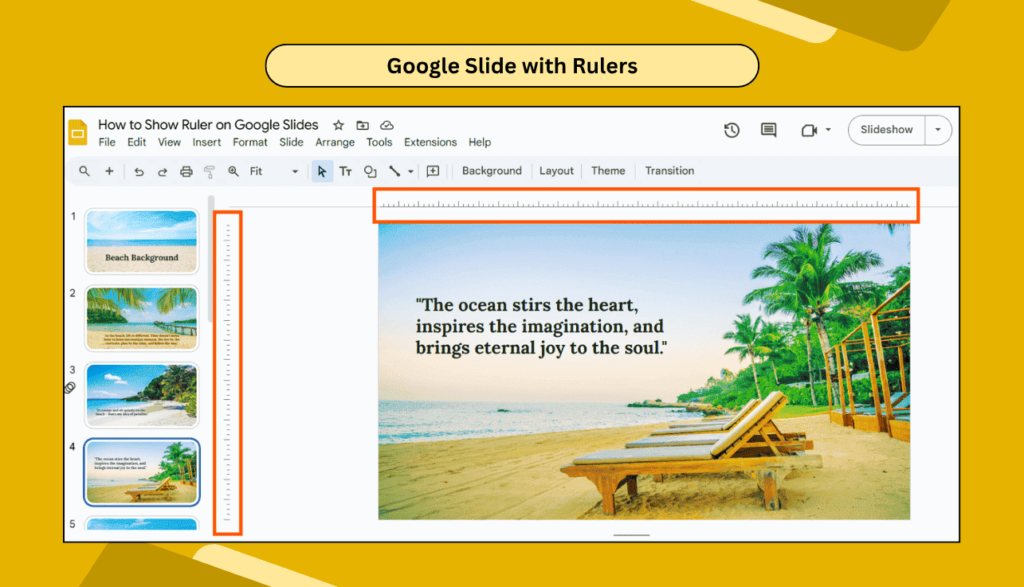
The ruler in Google Slides is a built-in measurement guide that appears at the top and left side of your slide. It helps you see how far elements are from the edge of the slide and allows you to adjust spacing evenly.
This tool is great for:
- Aligning text boxes, shapes, and images
- Setting consistent margins
- Adjusting indentations for bullet points
- Keeping your slide layout clean and structured
Why Use the Ruler in Google Slides?
You might think, “Do I really need a ruler?” Yes! Here’s why:
✅ Better Alignment – Make sure everything lines up nicely.
✅ Consistent Spacing – Keep equal distance between items.
✅ Professional Look – Neat slides always look more polished.
✅ Precise Control – Move elements by exact measurements.
If you care about design and want your slides to look clean, using the ruler is a smart step.
How to Show Ruler in Google Slides – Step-by-Step
Follow these simple instructions to turn on the ruler:
Step 1: Open Your Google Slides
Go to Google Slides, and open the presentation you want to work on.
Step 2: Go to the View Menu
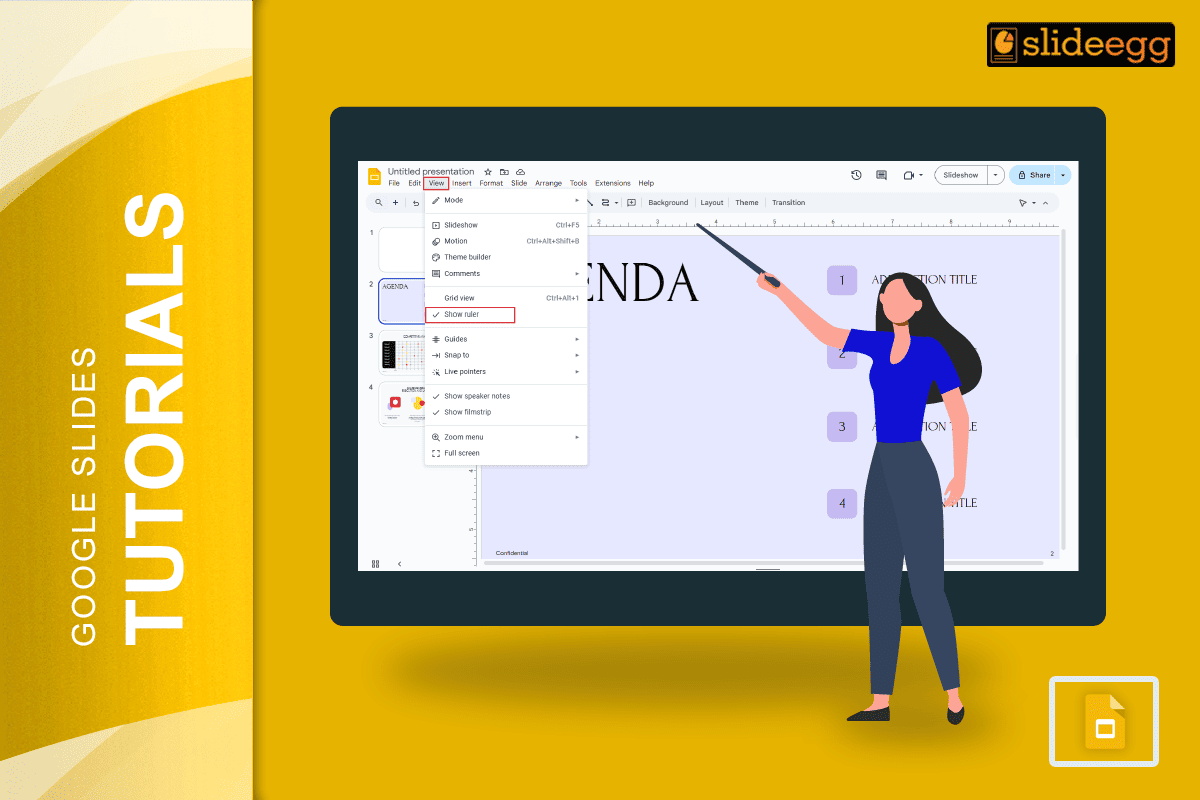
At the top of the screen, you’ll see a toolbar. Click on the “View” tab.
Step 3: Select “Show Ruler”
From the dropdown menu, choose “Show ruler”.

Once clicked, you’ll instantly see rulers appear at the top and on the left of your slide.
Done! You can now start adjusting your elements using the ruler as a guide.
Bonus Tip: Use the Ruler with Guides and Gridlines
The ruler is helpful on its own, but it becomes even more powerful when used with guides and gridlines.
To use them:
- Click View > Guides > Show guides
- Or click View > Snap to > Grid
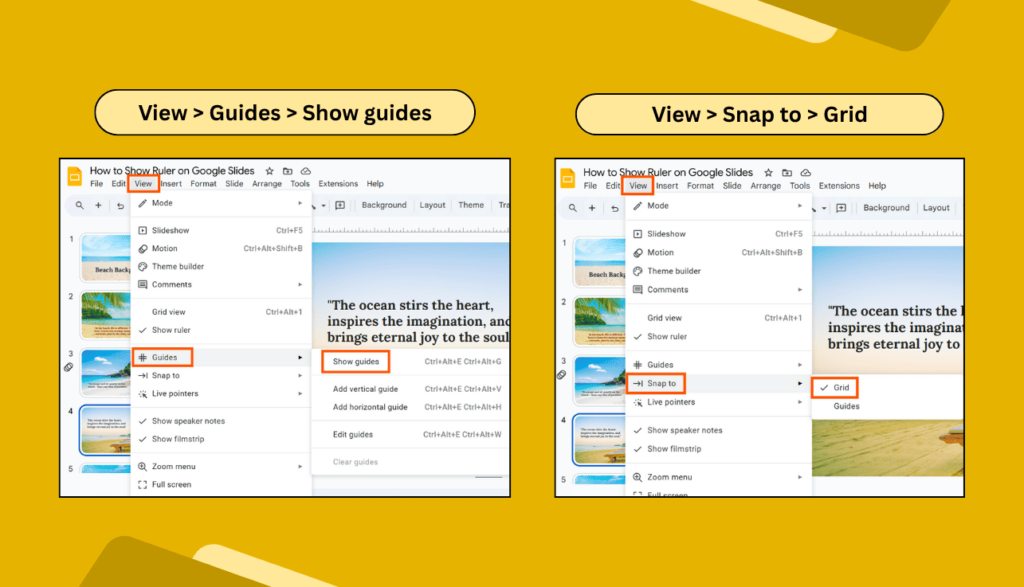
These tools work together to help you perfectly align all objects on your slides. Ideal for designers, teachers, and professionals who want to keep everything neat.
What If You Don’t See the Ruler?
Don’t worry—it may just be hidden by default.
Here’s what to check:
- Make sure you’re in editing mode, not “Present” mode.
- Try zooming out slightly to see if the ruler shows.
- Click View > Show ruler again to re-enable it.
Can You Customize the Ruler?
While the Google Slides ruler is useful, it’s not customizable like in some other design tools. But you can still do a lot:
- Use it to set margins
- Measure object positions
- Drag to adjust indents and tabs for text
If you need even more control, consider designing parts of your slide in Google Drawings or Canva, and then importing them into Slides.
FAQs
Q1. Why can’t I see the ruler in Google Slides?
You may not have turned it on. Go to View > Show ruler. Also, make sure you’re not in Present mode.
Q2. Can I change the units of the ruler?
No, Google Slides currently doesn’t support changing ruler units (it stays in inches).
Q3. How do I use the ruler to align elements?
Just drag an object (text box, image, shape), and use the ruler to see its distance from the edge. You can also use the indent markers for text alignment.
Q4. Is the ruler available on mobile?
No, the ruler is only available when using Google Slides on desktop or laptop browsers.
Q5. How is the ruler different from the guides?
The ruler shows measurements, while guides are visual lines you can move around to help align things.
Final Thoughts
The ruler tool in Google Slides may seem small, but it makes a big difference. With just one click, you can turn on a feature that helps you design more balanced and professional-looking slides. Whether you’re working on a school project, a business report, or a creative deck, using the ruler gives you better control.
Try it out next time you build your slides. It only takes a second, and your presentation will look much cleaner.