| Essential Steps to Share Google Slides with Different Access Permissions Step 1: Open your Google Slides presentation. Step 2: Click the “Share” button in the top right corner, Step 3: Choose your sharing method – email or link. Step 4: Set the right permission level (edit/view/comment). Step 5: Add people or copy the sharing link. Step 6: Send and start collaborating. |
Introduction
Sharing Google Slides is one of the most useful features for teamwork and collaboration. Whether you want to work with colleagues, share with clients, or get feedback from friends, knowing how to control access levels makes everything smooth and secure.
Google Slides offers three main permission types. Each serves different purposes depending on what you want people to do with your presentation.
Understanding the Three Access Levels
✅ Edit Access gives people full control over your slides
- They can change text, add images, delete slides, and modify everything.
- This works best for team members who actively work on the presentation together.
✅ View Access lets people see your slides but not change anything
- They can look through all slides, but cannot edit or add comments.
- This is perfect for sharing final presentations with clients or stakeholders.
✅ Comment Access allows people to add feedback without changing your actual content
- They can suggest improvements, ask questions, or give opinions through comments.
- This helps when you need input but want to keep control over changes.
How to Share Your Google Slides: Step by Step
- Open your Google Slides presentation.
- Look for the blue “Share” button at the top right corner of your screen.
- Or click “File” > “Share” > “Share with others”.
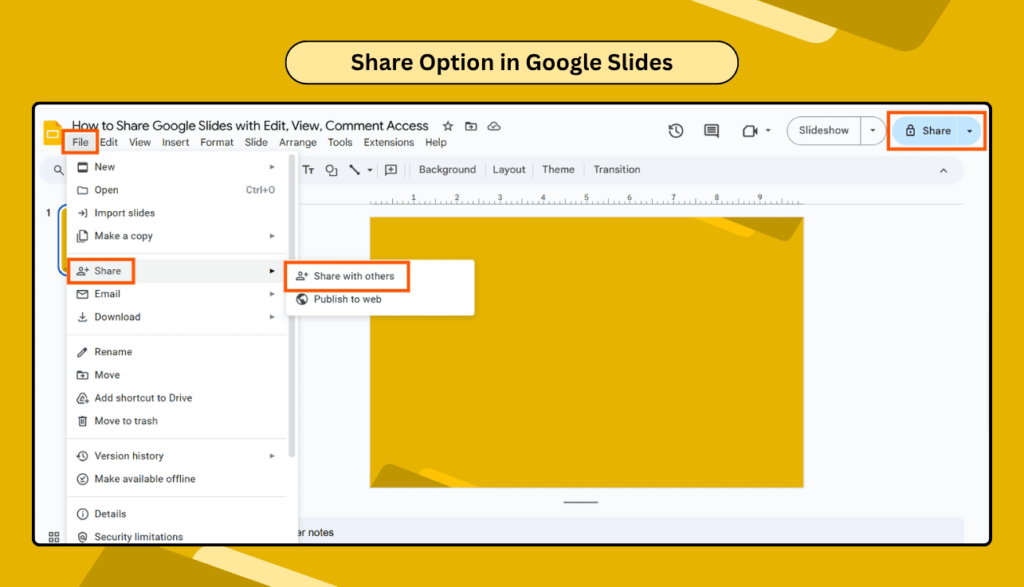
- Click on it to open the sharing menu.
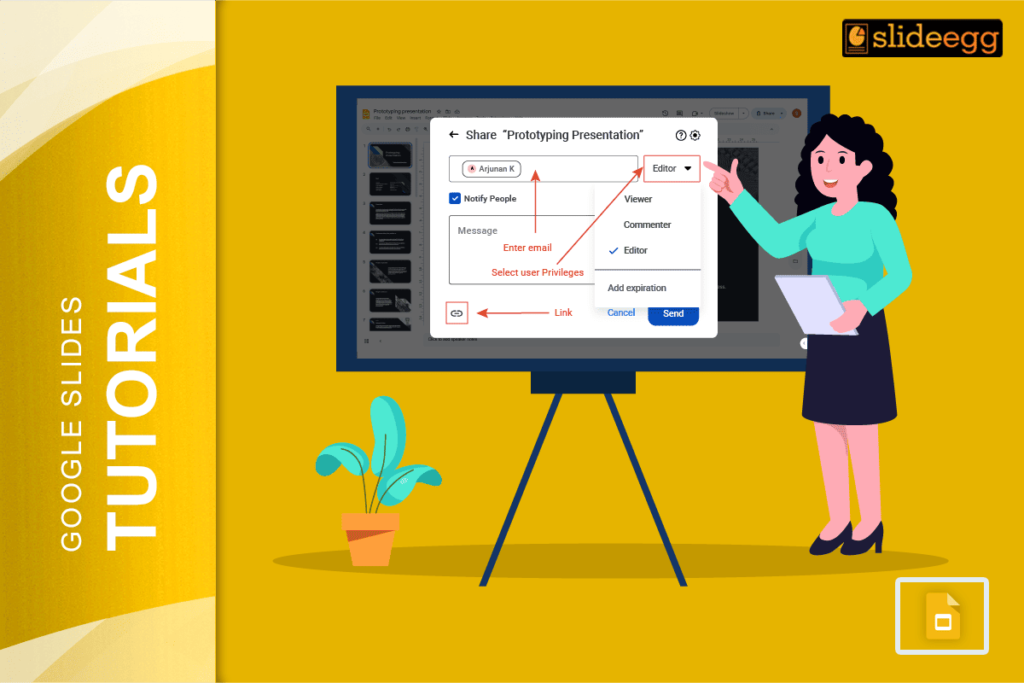
- You will see a box where you can type email addresses.
- Add the email addresses of people you want to share with.
- Type each email and press Enter to add more people.
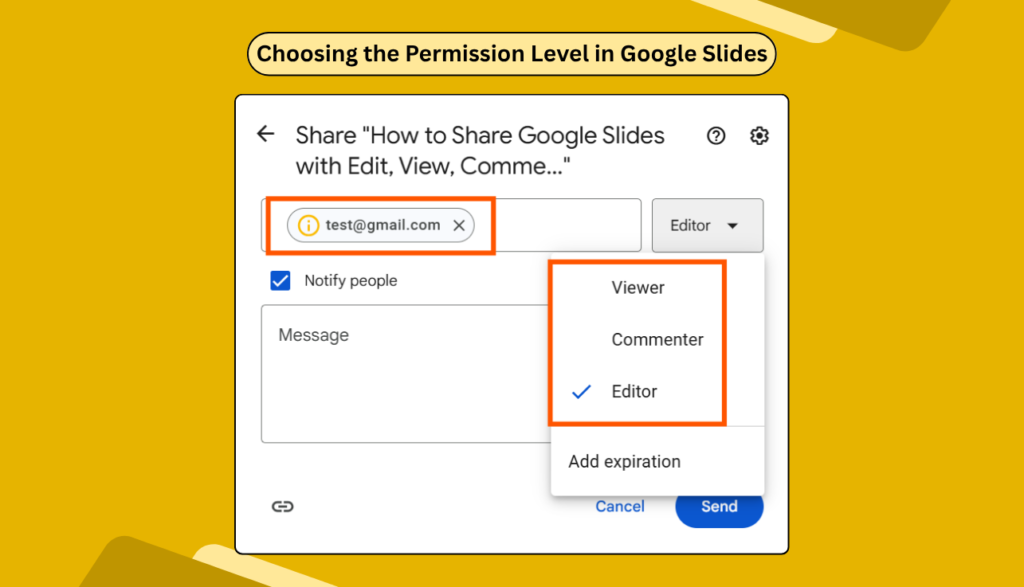
- Next to the email box, you will see a dropdown menu.
- Click on it to choose the permission level.
- Select “Editor” for edit access, “Viewer” for view access, or “Commenter” for comment access.
- If you want to share with many people, click “Copy link” instead.
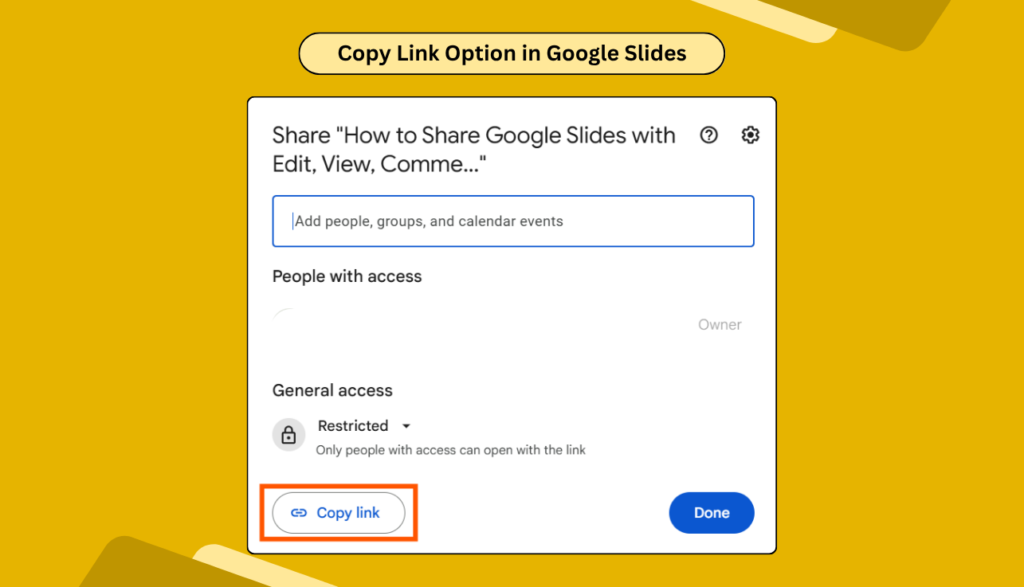
- This creates a sharing link you can copy and send anywhere.
- You can also set permissions for the link the same way.
Note: Before sending, you can add a message explaining what you want people to do. This helps them understand their role and what you expect from them.
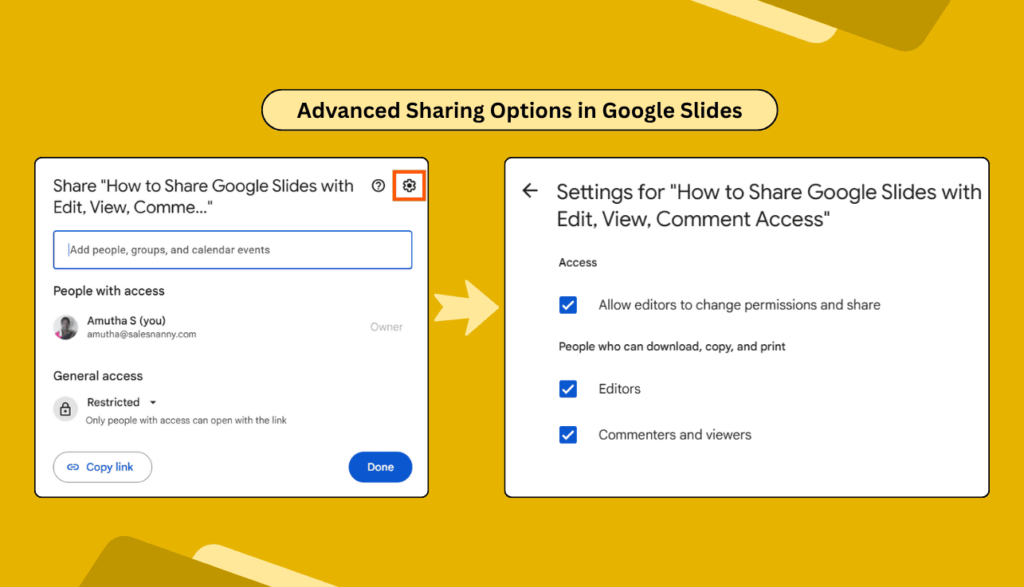
Advanced Sharing Options for Better Control
Google Slides also lets you control more detailed settings.
- You can stop people from downloading, printing, or copying your slides. Click “Settings” in the sharing menu to find these options.
- You can also set expiration dates for shared links. This automatically removes access after a certain time. This helps keep your presentations secure.
- For organizations, you can restrict sharing to people within your company only. This prevents accidental sharing with outside people.
Best Practices for Secure Sharing
- Always check who has access to your presentations regularly.
- Remove people who no longer need access to keep your content safe.
- Use comment access when you need feedback but want to maintain control.
- This prevents accidental changes while still getting valuable input.
- Consider creating presentation templates for your team to ensure consistency.
- When everyone starts with the same format, collaboration becomes much easier.
Troubleshooting Common Sharing Issues
✅ Sometimes people cannot open your shared slides.
- This usually happens when they use a different Google account than the one you shared with.
- Ask them to check which account they are signed into.
✅ If someone cannot edit despite having edit access, check if your organization has restrictions.
- Some companies limit external sharing for security reasons.
✅ When sharing links do not work, make sure you set the link permissions correctly.
- Links default to “restricted” which means only specific people can access them.
Frequently Asked Questions
Q1: Can I change someone’s access level after sharing?
Yes, you can always change permissions later. Go back to the share menu and adjust the access level for any person or link.
Q2: How many people can I share with at once?
You can add up to 100 people directly through email. For larger groups, use sharing links instead.
Q3: Can people see who else has access to the presentation?
Yes, anyone with access can see the list of other people who have permissions. This helps with transparency in team projects.
Q4: What happens if I delete a shared presentation?
When you delete a presentation, everyone loses access immediately. The presentation moves to your trash, and others cannot open it anymore.
Q5: Can I share individual slides instead of the whole presentation?
No, Google Slides shares the entire presentation. However, you can copy specific slides to a new presentation and share that instead.
Conclusion
Sharing Google Slides with the right access levels makes teamwork much easier. Remember to choose edit access for team members, view access for clients, and comment access for feedback.
Always review who has access to your presentations regularly for better security. Use sharing links for large groups and direct email sharing for specific people.
With these simple steps, you can collaborate effectively while keeping your presentations safe.