Working on a big presentation can be stressful. You spend hours making everything perfect, and then someone accidentally moves your logo or deletes an important image. This happens to everyone who uses Google Slides regularly.
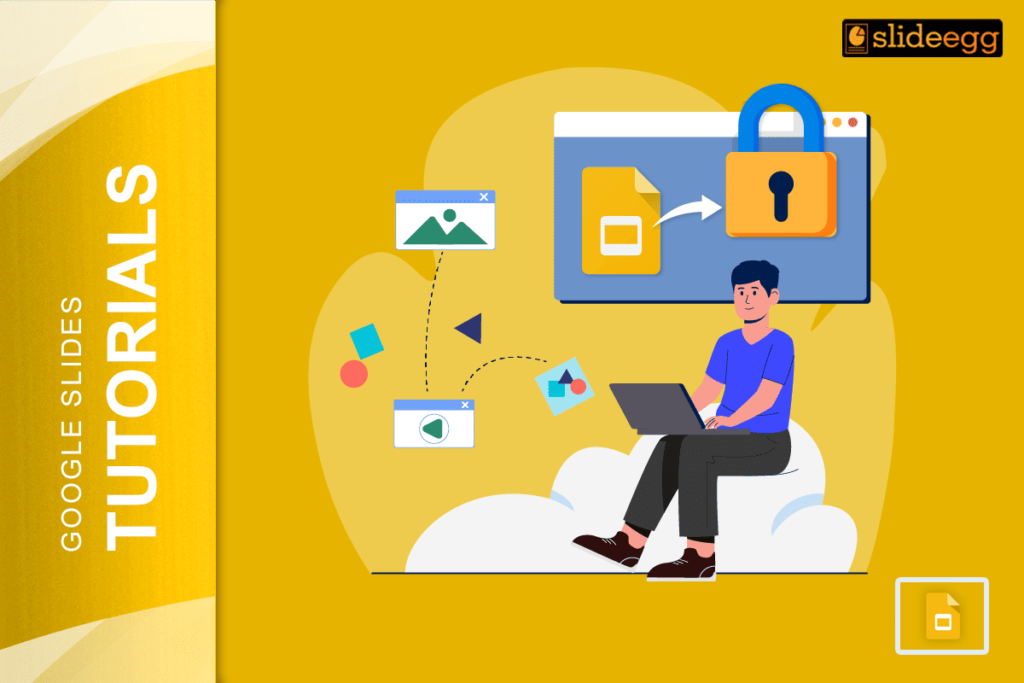
Locking elements in Google Slides is like putting a safety lock on your important stuff. Once you lock something, it stays exactly where you put it. No one can move it, resize it, or delete it by mistake. This simple trick can save you lots of time and frustration.
Why Should You Lock Elements?
When you share your slides with others, accidents happen. Team members might click on the wrong thing. Students might drag elements around without knowing. Even you might accidentally select something while trying to edit text.
Locking elements help you keep your design clean and professional. Your company logo stays in the right place. Important images don’t get moved around. Text boxes remain where they should be.
How to Lock Individual Elements
The easiest way to lock something is to right-click on it. When you right-click on any image, shape, or text box, you’ll see a “Lock” option in the menu. Click on it, and that element becomes protected.
You can also use keyboard shortcuts to make this faster. Press Ctrl+Alt+L on Windows or Cmd+Option+L on Mac after selecting an element. This instantly locks it without using the menu.
Grouping Elements for Better Protection
Sometimes you want to lock several things together. Maybe you have a logo with text underneath or a chart with its title. You can group these elements together to protect them as one unit.
Select all the elements you want to group by holding Ctrl (or Cmd on Mac) and clicking each one. Then right-click and choose “Group.” Now they move together and are harder to change by accident.
Using Master Slides for Permanent Elements
Master slides are like templates for your presentation. When you edit your master slide, any changes appear on all slides automatically. This is perfect for logos, headers, or footers that should stay the same everywhere.
Elements added to master slides are naturally protected because they’re not directly editable on regular slides. This gives you an extra layer of safety for your most important design elements.
What Happens When You Lock Elements?
Locked elements show a small lock icon when you hover over them. You can still see them and copy them, but you can’t move, resize, or delete them. This prevents accidental changes while still letting you work with other parts of your slide.
If you need to edit a locked element later, just right-click on it and choose “Unlock.” The element becomes editable again, and you can make any changes you need.
Best Practices for Locking Elements
- Lock your background images first. These are usually the most important visual elements and the hardest to recreate if they get moved. Next, lock your logos and branding elements. These should always stay in the same place.
- Don’t lock everything at once. Keep some flexibility for editing content. Lock the design elements that shouldn’t change, but leave text and data elements unlocked so you can update them easily.
- Consider your audience too. If you’re sharing with people who aren’t familiar with Google Slides, lock more elements. If you’re working with experienced users, you might only need to lock the most critical parts.
Troubleshooting Common Issues
- Sometimes the lock option might not appear in your menu. This usually happens when you haven’t selected an element properly. Make sure you click directly on the element you want to lock, not on empty space around it.
- If you can’t unlock an element, check if it’s part of a group. You might need to ungroup the objects first, then unlock the individual elements.
Frequently Asked Questions
1. Can I lock text boxes in Google Slides?
Yes, you can lock any element in Google Slides, including text boxes. Just right-click on the text box and select “Lock” from the menu.
2. Will locked elements stay locked when I download my presentation?
No, locking only works within Google Slides. If you download your presentation as a PowerPoint or PDF, the lock protection won’t transfer.
3. Can I lock elements on multiple slides at once?
You can’t lock elements across multiple slides in one action. You need to lock elements on each slide individually or use master slides for elements that appear on all slides.
4. How do I know if an element is locked?
Locked elements show a small lock icon when you hover over them. You also can’t select or move them with your mouse.
5. Can collaborators unlock elements that I’ve locked?
Yes, anyone with edit access can unlock elements. Locking is more about preventing accidents than restricting access.
Locking elements in Google Slides is a simple way to protect your hard work. It takes just a few seconds but can save you hours of fixing mistakes. Start with your most important elements and gradually lock more as needed.