| Quick Tips to Edit Layout in Google Slides 🔥 Open your Google Slides presentation. 🔥 Click on “Slide” → “Edit theme” to change layouts. 🔥 Pick a slide layout like Title, Two Columns, or Blank. 🔥 Customize text boxes, colors, and design. 🔥 Save and reuse your new layout. |
Introduction
Google Slides is one of the easiest tools out there for making presentations. But what if your slide doesn’t look the way you want? That’s where editing the layout comes in.
In this simple guide, we’ll walk you through how to change and edit slide layouts step-by-step. It’s really easy, and by the end, your slides will look way better!
🧩 What is a Layout in Google Slides?
Before we jump into editing, let’s understand what a “layout” actually means.
A layout is the basic design of your slide — where the title, text, images, or charts go. Google Slides has built-in layouts like:
- Title Slide
- Section Header
- Title and Body
- Two Columns
- Caption
- Blank
You can also create your own layout if you want more control.
✏️ How to Edit Layout in Google Slides – Step-by-Step
Here’s the super simple way to do it:
✅ Step 1: Open Google Slides
Go to Google Slides, and open your presentation, or start a new one.
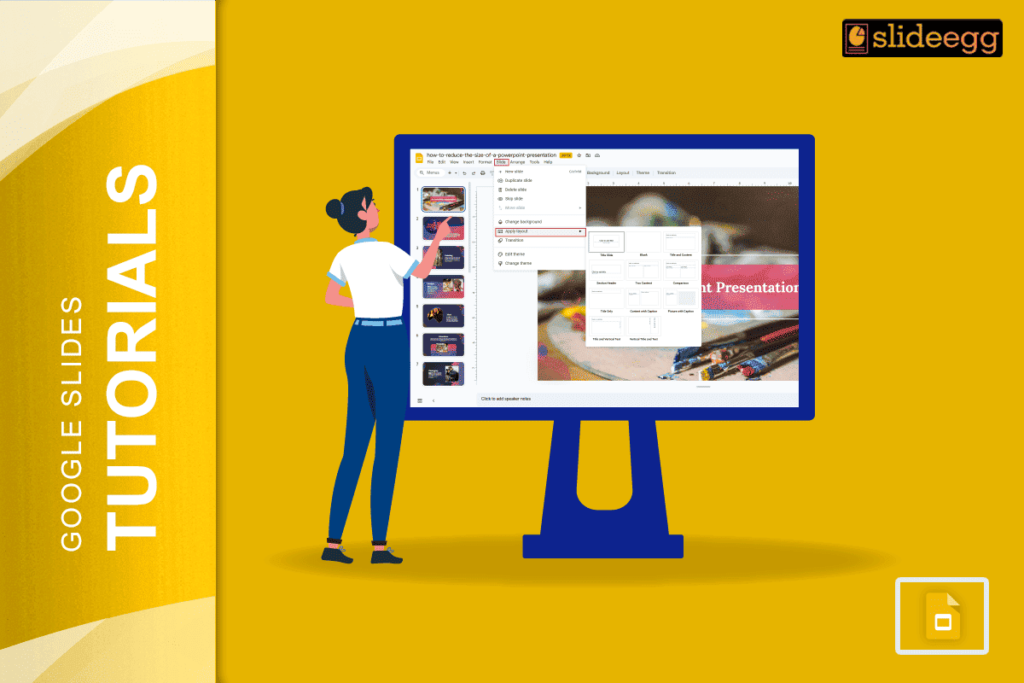
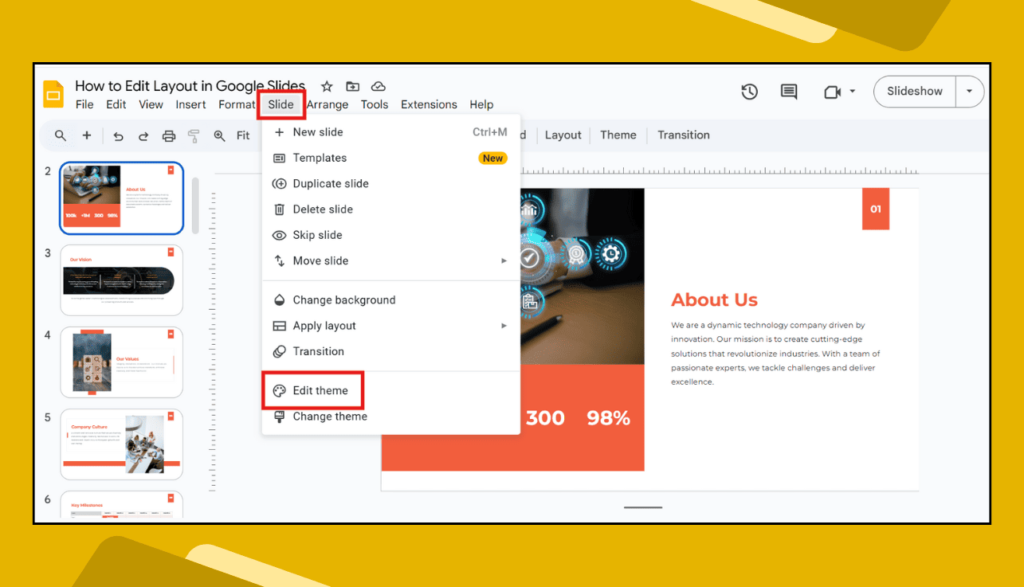
✅ Step 2: Click “Slide” in the Top Menu
- Look at the top menu bar. Click on “Slide”, then choose “Edit theme”.
- This will open the Master View, where you can see all the layouts.
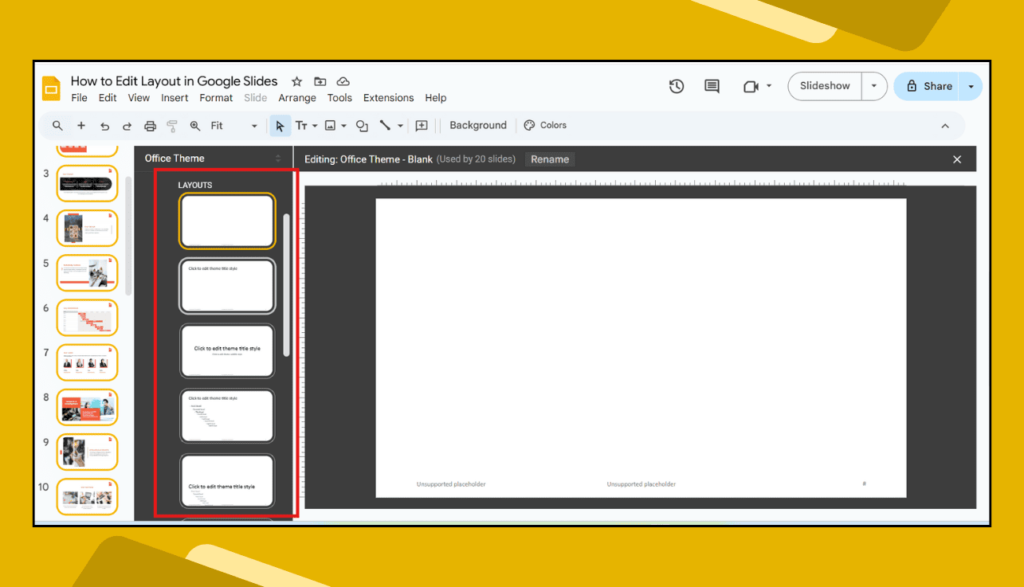
✅ Step 3: Choose a Layout to Edit
On the left side, you’ll see the layouts. Click on the one you want to change — like “Title and Body.”
✅ Step 4: Make Your Changes
Now it’s time to play around:
- Move text boxes.
- Add shapes, images, or logos.
- Change fonts, sizes, and colors.
- Delete anything you don’t want.
You can even set up your own custom layout from here!
✅ Step 5: Exit the Theme Editor
When you’re done editing, just click the X on the top right to go back to your normal slides.
Now, your changes will show up whenever you apply that layout to a slide.
🎨 Why Editing Layouts Is Super Helpful
Here’s why it’s a good idea to learn this:
- Saves you tons of time when making multiple slides.
- Keeps your design consistent.
- Looks way more professional.
- You can set a layout that matches your brand or school project.
- Great for teachers making worksheets or class slides.
🧠 Pro Tips for Slide Layouts
- Use white space: Don’t overcrowd your slides.
- Stick to one or two fonts: It looks cleaner.
- Use big headings: Easy to read from far away.
- Preview your slides before presenting.
- Keep it simple: Less is more.
🙋 FAQs About Editing Layout in Google Slides
Q. Can I create my own layout in Google Slides?
Yes! Go to Slide → Edit theme, then right-click and choose “New layout”. You can design it however you want.
Q. Will my new layout affect all slides?
Nope! Only the slides where you apply that layout will change. You get full control.
Q. Can I go back to the old layout?
Yes. Just go to Slide → Apply layout, and choose any of the default ones again.
Q. Is this available on the mobile app?
Editing layouts is only available on the desktop version of Google Slides for now.
Q. Do I need to save it manually?
No need! Google Slides autosaves everything you do.
Final Thoughts
Editing layouts in Google Slides is super simple and makes a big difference in how your presentation looks. Once you try it, you’ll see how fun and flexible it is. Whether you want to keep things clean or go bold with colors and images, you’ve got the tools right in front of you.