Master Slide is like a blueprint for your entire presentation. By editing the master slide, you can set a unified look and feel that automatically applies to all your slides, saving you time and ensuring consistency. In this guide, we’ll walk you through the process of editing the master slide in Google Slides so you can create professional, polished presentations with ease. Let’s dive in!
How to Customize Master Slide in Google Slides
Step 1: Open Google Slides
Start by opening your Google Slides presentation. Don’t have one yet? No problem, just create a new one.
Step 2: Access the Master Slide
Click on “View” in the menu at the top of the screen. From the drop-down menu, select “Master.” This will open the master slide view.
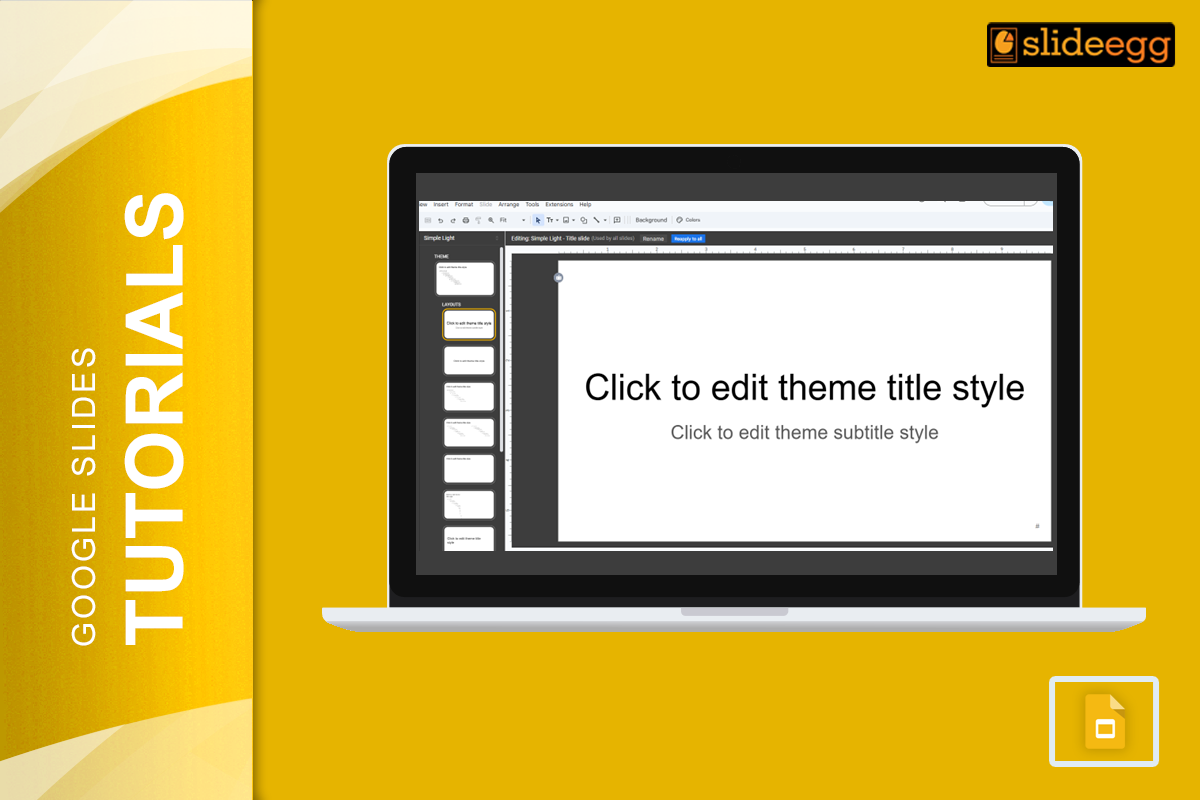
Step 3: Select the Master Slide
On the left side, you’ll see a list of slide layouts. The very top slide is the master slide. Click on it to select it. Any modifications made here will automatically reflect on all slides within your presentation.
Step 4: Edit the Master Slide
Now it’s time to customize! You can change the background, font style, font size, colors, and more. To change the background, click on “Background” and choose a color or image. For text styles, click on the text box and use the toolbar to make your changes.
Step 5: Adjust Layouts
Below the master slide, you’ll find different slide layouts. You can edit these individually. Click on any layout to make specific changes. This is great for customizing the appearance of different types of slides, like title slides and content slides
Step 6: Save Your Changes
Once you’re happy with your edits, click the “X” at the top right of the master slide view to close it. All your changes will now be applied to your presentation.
Bonus Tips:
- Consistent Design: Use the master slide to set your theme, fonts, and colors. This keeps your presentation looking cohesive and professional.
- Custom Layouts: Need a unique layout? Create custom layouts in the master slide view. This gives you full control over the design of your presentation.
- Quick Edits: Any quick changes? You can always go back to the master slide and tweak your design. It’s much easier than editing each slide individually.
Conclusion:
Editing the master slide in Google Slides is a game-changer for anyone who wants to create professional-looking presentations without spending hours on design. By setting up your master slide, you can ensure that all your slides follow a consistent theme and save a ton of time in the process. Now that you know how to do it, go ahead and make your presentations stand out!


