| ✅ Quick Tips: How to Create a Jamboard in Google Slides ⭐ Open Google Slides and create a blank slide deck. ⭐ Use shapes, text boxes, and images to design your Jamboard. ⭐ Add interactive elements like movable icons or sticky notes. ⭐ Use master slides for reusable templates. ⭐ Share your slide deck with edit access to make it collaborative. ⭐Turn on grid view to see all slides at once, like Jamboard pages. ⭐ Keep things simple and colorful – just like Jamboard! |
Introduction
Jamboard by Google is a fun, visual tool. But what if you don’t have access to it? Or maybe you just want to do everything inside Google Slides, which most people already use?
You can easily make a Jamboard-style board using Google Slides! It’s free, easy, and works just like a digital whiteboard. Whether you’re a teacher, a student, or someone who loves to plan things with sticky notes, this guide is for you.
Let’s walk through how to make a Jamboard using Google Slides – using super-simple steps. No tech skills are needed!
What is a Jamboard?
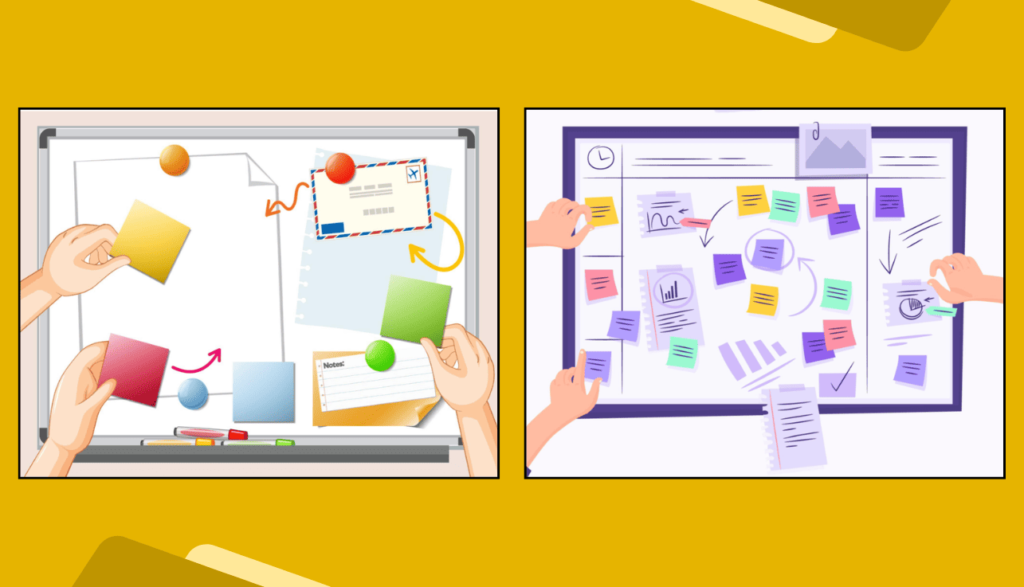
A Jamboard is like a whiteboard on your computer or tablet. You can write on it, move things around, and work on it with friends or classmates at the same time. It’s great for:
- Brainstorming ideas
- Group projects
- Classroom activities
- Visual planning
But sometimes, Jamboard isn’t available, or it doesn’t have the features you need. That’s where Google Slides comes in!
Why Use Google Slides to Make a Jamboard?
Here’s why Google Slides is a great Jamboard alternative:
- It’s free and easy to use.
- Everyone with a Gmail account has it.
- You can design slides your way.
- It’s super flexible – add text, photos, videos, and shapes.
- You can work with others at the same time.
Think of it like building your own digital Jamboard with a twist!
Step-by-Step: How to Create a Jamboard in Google Slides
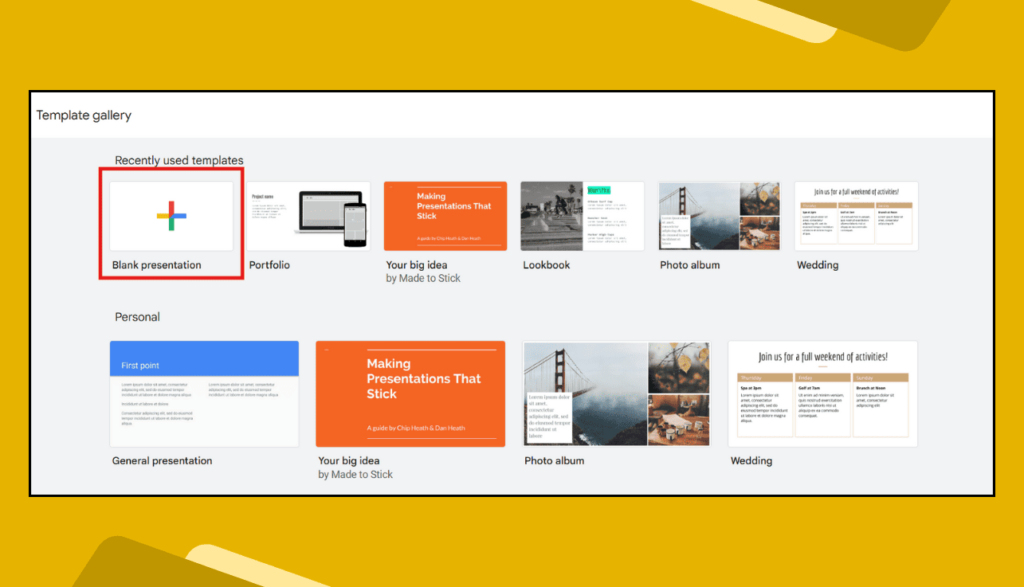
1. Open Google Slides
Go to slides.google.com and click “Blank” to start a new presentation.
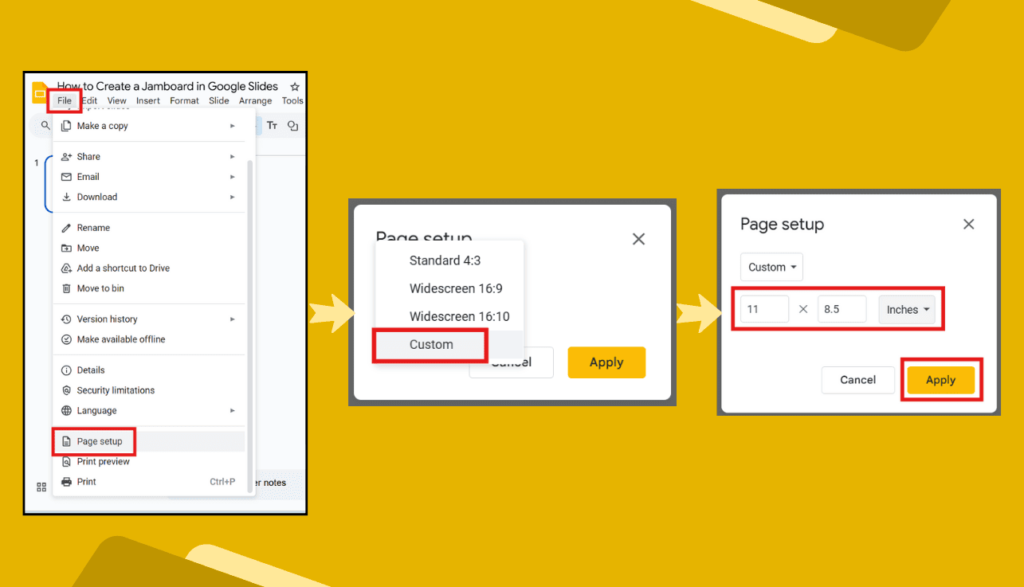
2. Set the Slide Size
For a whiteboard feel, change the slide size:
- Click File > Page setup.
- Choose Custom.
- Set it to 11 x 8.5 inches or whatever size you like.
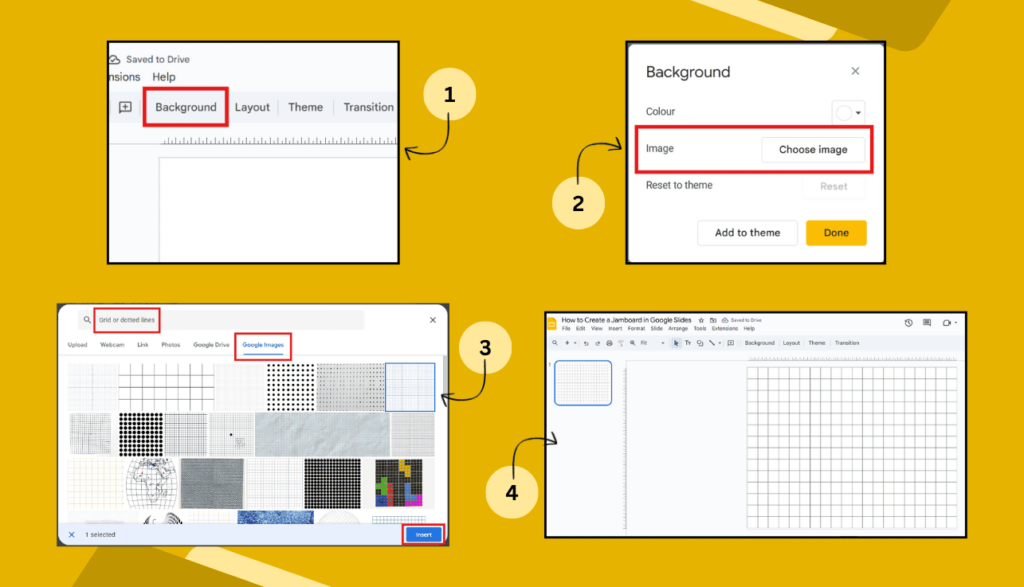
3. Design Your Jamboard Background
You can use:
- A plain white background.
- Upload a grid or dotted paper image.
- Use shapes to create sections.
This will be the base for your Jamboard.
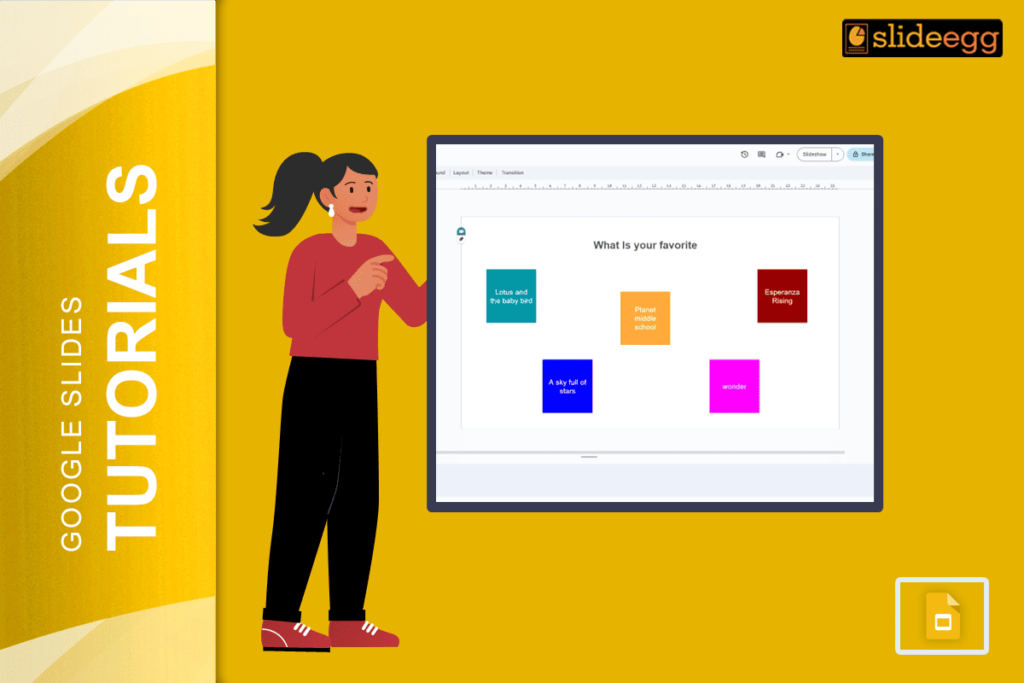
4. Add Moveable Elements
These are the fun parts! Add:
- Text boxes (like sticky notes).
- Shapes for buttons or labels.
- Images or icons.
- Emojis or drawings.
Just insert them from the top menu. Keep them simple and colorful!
5. Duplicate the Slide to Make More Pages
Want more Jamboard pages? Right-click your slide on the left and click “Duplicate slide.”

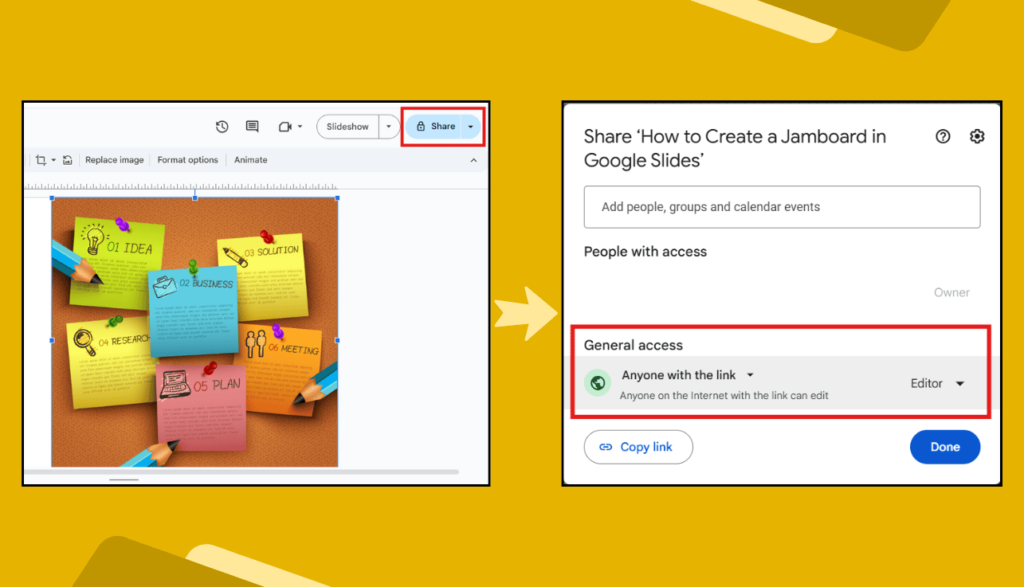
6. Share Your Slides
Click the “Share” button on the top right.
- Choose “Anyone with the link can edit” if you want others to interact.
- You can also assign it in Google Classroom or share it by email.
7. Tips for Using It Like a Real Jamboard
- Use drag-and-drop sticky notes.
- Create different pages for different topics.
- Let students move items or answer questions by dragging shapes.
- Use the comment tool to add notes.
Extra Ideas for Teachers and Students
- Use it for morning routines or exit tickets.
- Make a brainstorming board for group work.
- Create a gallery walk where students move slides.
- Use icons for sorting games or matching tasks.
- It’s great for remote learning and classroom tech projects!
FAQs: Google Slides Jamboard Style
Q1. Is this the same as the real Jamboard app?
No, but it works in a similar way! Google Slides lets you do most Jamboard stuff – and even more!
Q2. Can students write or move items on the slides?
Yes! Just give them edit access. They can drag sticky notes, type answers, or add their own stuff.
Q3. Do I need to install anything?
Nope! Everything is online. You just need a Google account.
Q4. Can I save or print my Jamboard slides?
Yes, you can download them as a PDF or print them like regular slides.
Final Thoughts
Creating a Jamboard-style activity in Google Slides is super easy. No fancy tools are needed. Just your creativity and a Google account.
It’s perfect for teachers, students, teams, or anyone who loves to plan things visually. Try it out today — and turn a simple slide into an interactive playground!