
Do you need a calendar to keep track of your appointments, deadlines, and other important dates? If so, you don’t have to buy one. You can easily create a calendar in Google Slides.
Creating a calendar in Google Slides is quite simple. You can use text boxes, shapes, and images to create a visually appealing calendar for your needs.
Here’s a step-by-step guide on how to make a calendar in Google Slides:
Open Google Slides
- Go to your Google Drive (drive.google.com) and click on the “+ New” button.
- Select “Google Slides” from the dropdown menu to create a new presentation.
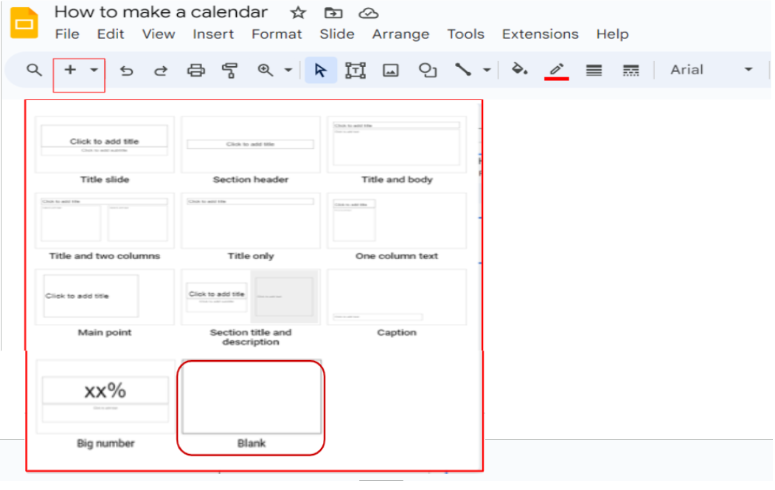
- Select a layout for your slide. You might choose a blank slide or a template that suits your calendar’s design.
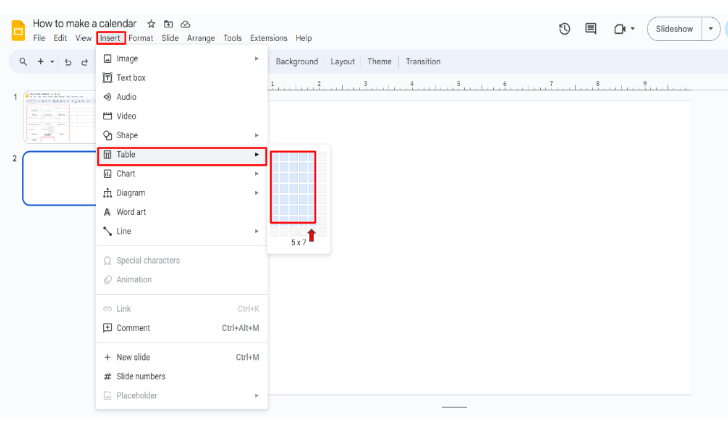
Insert a Table
- Click on the “Insert” tab in the top menu.
- Choose “Table” and select the desired number of rows and columns for your calendar.
- Typically, a 5×7 table works well for a monthly calendar.
Customize Table Cells
- Adjust the height and width of the table cells to create a calendar grid.
- You can do this by clicking and dragging the cell borders.
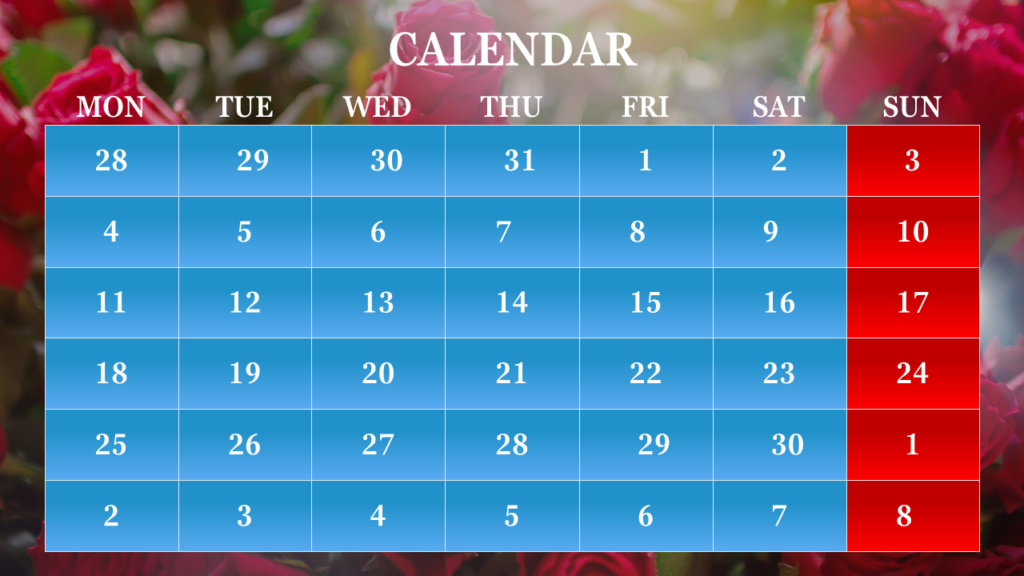
Add Month and Year:
- Insert a text box above the calendar grid.
- Type the month and year to indicate which month the calendar represents.
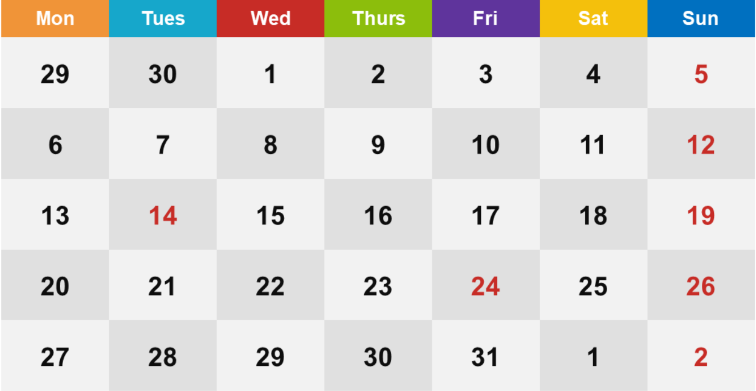
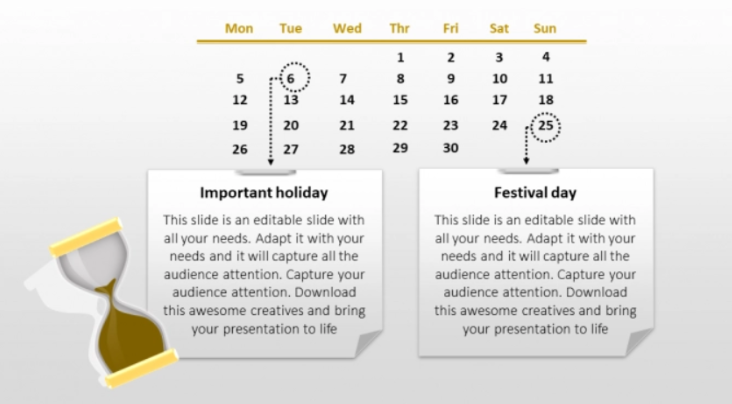
Populate the Calendar
- Click on each cell of the table and add the corresponding date for each day of the month.
- You can also use numbers and text boxes to create the day labels (e.g., “Sun”, “Mon”, etc.).
Add Events and Details: You can insert additional text boxes to add events, holidays, or any other important information to specific dates.
Design and Customize
- Use shapes, lines, and colors to stylize your calendar and make it visually appealing.
- You can change the font, font size, colors, and other design elements to match your preference or your brand’s style.
Insert Images
If desired, you can insert images relevant to the month or events on the calendar.
- Click on “Insert” > “Image” to add images from your computer or directly from the web.
Duplicate Slides
- Once you’ve designed the calendar for one month, you can duplicate the slide for each subsequent month.
- Update the month and dates accordingly for each duplicated slide.
Review and Edit
Double-check your calendar to make sure all dates and details are accurate. Edit and adjust any elements that need refinement.
Save and Share
- Once you’re satisfied with your calendar, save the presentation by clicking on “File” > “Save” or “Save as.”
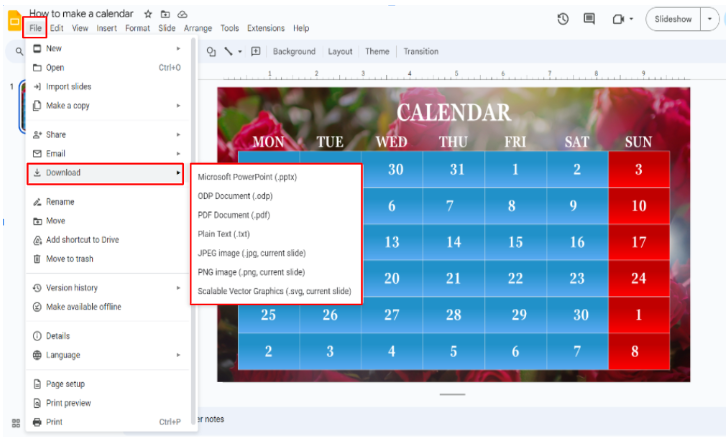
You can then share the presentation with others or download it as a PDF or other websites like Slide Egg.
Remember that Google Slides templates allows for a lot of creativity, so feel free to experiment with different designs, colors, and layouts to make your calendar unique and visually appealing.
So what are you waiting for? Start creating your own calendar in Google Slides today!